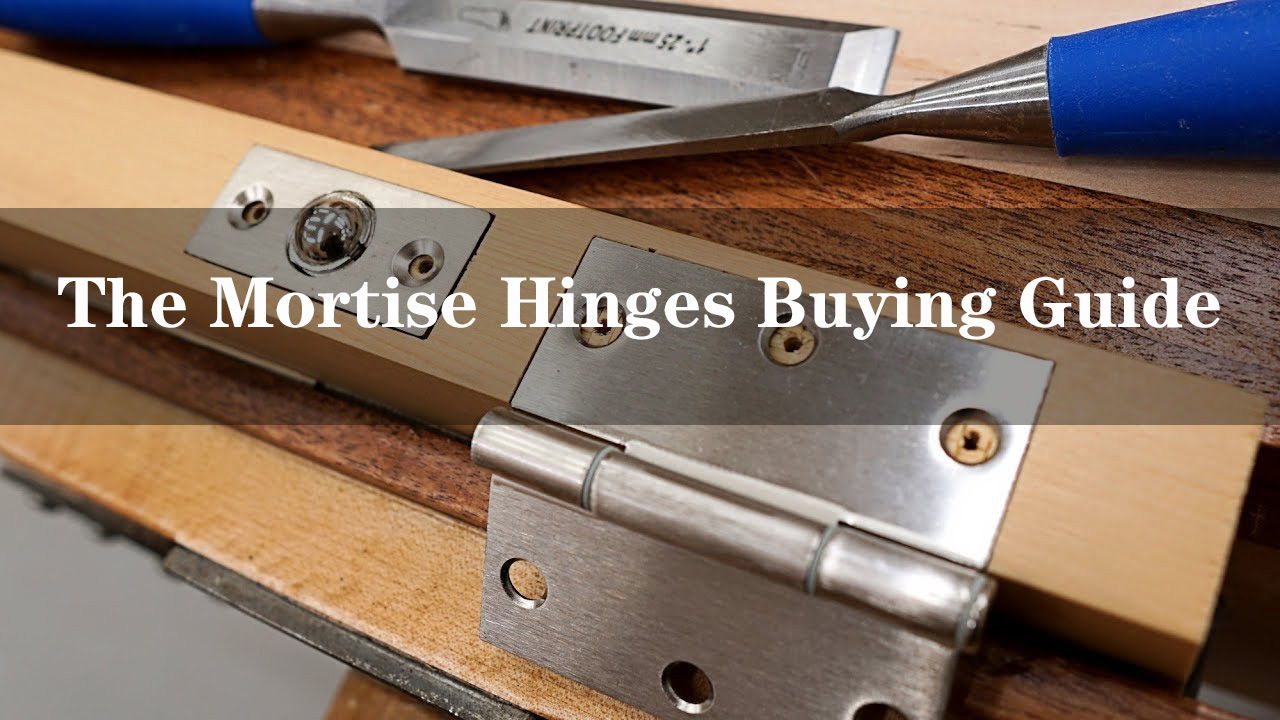
When it comes to installing a door hinge, one crucial step that often gets overlooked is properly mortising the hinge into the door and frame. This process involves carving out a recess or pocket in the wood to ensure that the hinge sits flush and securely in place. While it may seem like an insignificant detail, neglecting to properly mortise a door hinge can lead to numerous issues down the line.
The correct installation of door hinges is essential for several reasons. Firstly, it ensures that the door operates smoothly and effortlessly. A poorly mortised hinge can cause friction and resistance when opening or closing the door, leading to unnecessary strain on both the hinges and the overall structure of the door.
Secondly, proper mortising is crucial for maintaining security. A well-mortised hinge provides a solid foundation for attaching other components of door hardware, such as locks and latches. Without this secure base, these additional components may not function effectively, compromising both safety and privacy.
Lastly, aesthetic considerations also come into play when installing hinges. Improperly installed hinges can create unsightly gaps between the door and frame or result in misaligned doors that do not close properly. These visual flaws can detract from the overall appearance of a room or property.
To avoid these potential problems, it is essential to understand how to correctly mortise a door hinge during installation. This includes using appropriate tools such as chisels and routers to create precise recesses that match the size and shape of your chosen hinges.
In this section, we will explore various techniques for properly mortising a door hinge along with helpful tips for achieving professional results. Whether you are a DIY enthusiast or professional contractor, mastering this skill will ensure reliable functionality, enhanced security, and improved aesthetics in all your future door installations.
Gather the Required Tools and Materials for the Job

To ensure a successful and efficient job, it is crucial to gather all the necessary tools and materials required for door hinge mortising. Having the right equipment at hand will not only save you time but also ensure accurate and precise results.
One of the primary tools you will need is a door hinge mortising tool. This specialized tool is designed specifically for creating clean and precise mortises for hinges. It allows you to cut out the recessed area in the door or door frame where the hinge will be installed.
Additionally, a chisel is an essential tool for fine-tuning and smoothing out the edges of the mortise. It enables you to achieve a snug fit between the hinge and the door frame, ensuring proper alignment.
A router can also be used as an alternative to a chisel for creating accurate mortises quickly. With different router bits available, you can choose one that matches your desired depth and width requirements.
Marking tools such as pencils or marking knives are indispensable when measuring and outlining where the mortise should be made. These tools help ensure precision during the marking process, preventing any unnecessary errors.
Lastly, don’t forget about a hammer! It may seem like a basic tool, but it plays an important role in securing hinges onto doors or frames once they are properly installed.
By gathering these necessary tools – including a door hinge mortising tool, chisel, router, marking tools, and hammer – you’ll have everything needed to successfully complete your door hinge installation with accuracy and efficiency.
Precise Measurements: Marking the Hinge Placement on the Door

Accurate measurements are crucial when it comes to marking the hinge placement on a door. The precise positioning of hinges can make a significant difference in the functionality and aesthetics of the door. To ensure a seamless installation, it is essential to have a systematic approach and use reliable measuring techniques.
When marking the door hinge location, it is important to start with accurate measurements. Begin by measuring the height of the door and dividing it into equal sections for each hinge. This will help distribute the weight evenly and prevent any sagging or misalignment over time.
Next, measure the width of the door frame and determine where exactly you want your hinges to be placed. It is recommended to leave a small gap between the edge of the door and the hinge for smooth operation.
To achieve precise measurements, use high-quality tools such as a tape measure or a combination square. These tools will provide accurate readings and allow you to mark your measurements with confidence.
By taking meticulous measurements and marking them correctly, you can ensure that your hinges are installed in their optimal positions. This attention to detail will result in a properly functioning door that not only looks aesthetically pleasing but also operates smoothly for years to come.
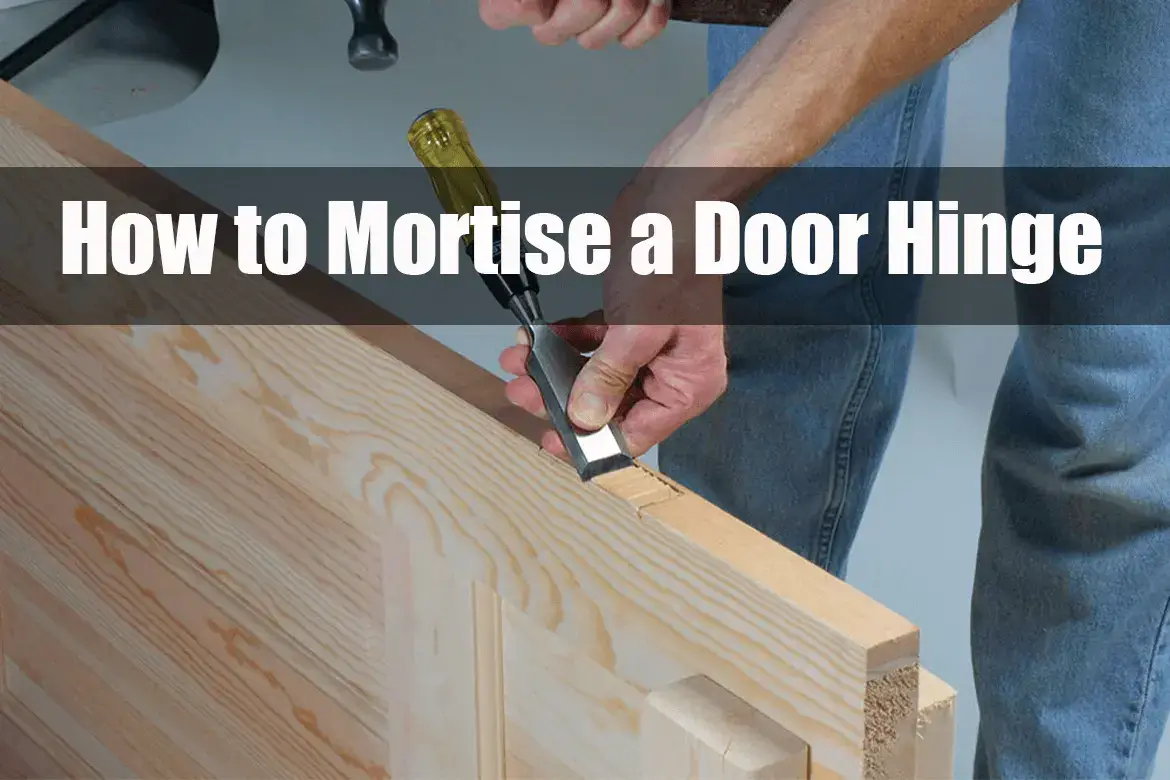
Using a Router or Chisel to Create the Mortise in the Door Frame

There are two main ways to make a clean hinge space: chisels or routers. Both techniques have their advantages and can yield excellent results when done correctly.
Using a router for mortising hinges provides speed and accuracy. With the right router bit, you can quickly remove the material to create a perfectly sized mortise. This method is ideal for those who want to save time and ensure consistent results across multiple doors.
On the other hand, the chisel method for mortising hinges offers more control and precision. By carefully removing small amounts of material with a sharp chisel, you can achieve tight-fitting hinges that seamlessly blend into the door frame. This approach requires patience and skill but can result in exceptionally clean and professional-looking mortises.
Whether you choose to use a router or chisel, it is crucial to follow proper techniques and take necessary safety precautions. Additionally, selecting high-quality tools and practicing on scrap wood before working on your actual door frames will help you master the art of creating clean mortises for hinges.
Ultimately, both methods have their merits, so it’s up to you to determine which technique aligns best with your skills, preferences, and project requirements. Whichever route you choose, remember that attention to detail is key when creating precise mortises that will ensure smooth operation of your door hinges for years to come.
Fitting and Testing: Ensuring Proper Alignment and Functionality of the Hinges

When it comes to door hinges, proper fitting and testing are crucial to ensure optimal alignment and functionality. Fitted door hinges require careful attention to detail during installation, and testing is necessary to guarantee smooth operation.
One important aspect of fitting door hinges is checking the alignment of mortised hinges. This involves ensuring that the hinge plates are properly recessed into the door and frame, allowing for a secure fit. Any misalignment can lead to issues such as squeaking or sticking doors.
After fitting the hinges, thorough testing should be conducted to ensure their smooth operation. This includes opening and closing the door multiple times to check for any resistance or irregular movement. Properly aligned and fitted hinges should provide a seamless experience, allowing the door to open and close effortlessly.
By prioritizing fitting and testing processes for door hinges, you can ensure that they not only function properly but also enhance the overall aesthetic appeal of your space. Whether it’s a residential or commercial setting, taking these steps will help maintain the longevity and reliability of your doors.
Troubleshooting Common Issues and Solutions during Mortising Process
Installing hinges can have problems, but you can solve them.
One common problem is when the mortise is not deep enough or too shallow for the hinge. This can result in an improper fit and cause difficulties in closing or opening the door smoothly. The solution to this issue is to carefully measure and mark the correct depth for the mortise before starting the process. Using a chisel or router, gradually remove material until the hinge fits snugly into the mortise.
Another common problem is when the mortise is not properly aligned with the hinge recess on either side of the door and frame. This misalignment can lead to a crooked or uneven installation, affecting both function and aesthetics. To troubleshoot this issue, it’s important to ensure accurate marking of both hinge locations before starting any cutting. Double-checking measurements and using a level or square can help achieve proper alignment.
Sometimes, during installation, screws may strip or fail to secure tightly in place within the mortised holes. This can weaken overall stability and compromise security. To address this problem, consider using longer screws that have better grip strength or opting for stronger materials such as brass or stainless steel screws.
Lastly, if you encounter difficulty during chiseling or routing due to hardwood grain direction, causing tear-out or splintering around the mortise edges, there are solutions available as well. One approach is to score along marked lines with a utility knife before removing material with a chisel or router. This scoring technique helps prevent tear-out by guiding tools along predetermined paths.
By following these troubleshooting tips and implementing their corresponding solutions during your mortising process for door hinges, you’ll be able to overcome common issues effectively and achieve professional results in your woodworking projects
Finishing Touches: Securing and Reinforcing Your New Door Hinges
Strong hinges make doors work well for longer. This means securing them and making sure they’re strong. Securing the installed hinges is essential to prevent any unwanted movement or sagging over time. By following a few simple steps, you can ensure that your door hinges remain in place for years to come. We will discuss techniques such as using longer screws, adding hinge shims or washers, and applying thread-locking adhesive to keep those hinges firmly in position.
In addition to securing the hinges themselves, reinforcing the mortised area around the hinge plate provides extra stability and durability. We will delve into various reinforcement methods such as using wooden dowels or metal inserts to strengthen the surrounding wood material. These reinforcements not only prevent wear and tear but also enhance security by making it more difficult for intruders to force open your doors.
By implementing these finishing touches, you can have peace of mind knowing that your door hinges are securely installed and reinforced. Whether you are a homeowner looking for DIY solutions or a professional seeking best practices in door installation, this section will equip you with valuable insights on how to ensure the long-lasting functionality of your doors’ hinges.
Conclusion: Achieve Professional Results by Mastering the Art of Mortising a Door Hinge
Mastering the art of mortising a door hinge is essential for achieving professional results. By properly mortising a door hinge, you can ensure that the door hangs correctly, operates smoothly, and maintains its stability over time.
Mortising a door hinge involves creating precise recesses or slots in both the door and the door frame to accommodate the hinge plates. This process requires careful measurements, accurate marking, and skilled chiseling or routing techniques.
By taking the time to learn and practice this technique, you can elevate your woodworking skills and enhance the overall quality of your finished projects. Whether you are a professional carpenter or an avid DIY enthusiast, mastering mortising will allow you to achieve seamless integration of hinges into doors with clean lines and professional-looking results.
Furthermore, understanding how to properly mortise a door hinge opens up opportunities for customization and creativity in your woodworking projects. You can experiment with different types of hinges, finishes, and decorative elements to add unique touches to your doors.
In conclusion, by mastering the art of mortising a door hinge, you can achieve professional results in your woodworking endeavors. It is an essential skill that will not only enhance the functionality of your doors but also elevate their aesthetic appeal. So take the time to learn this technique thoroughly and enjoy the satisfaction of creating beautifully crafted doors that stand the test of time.