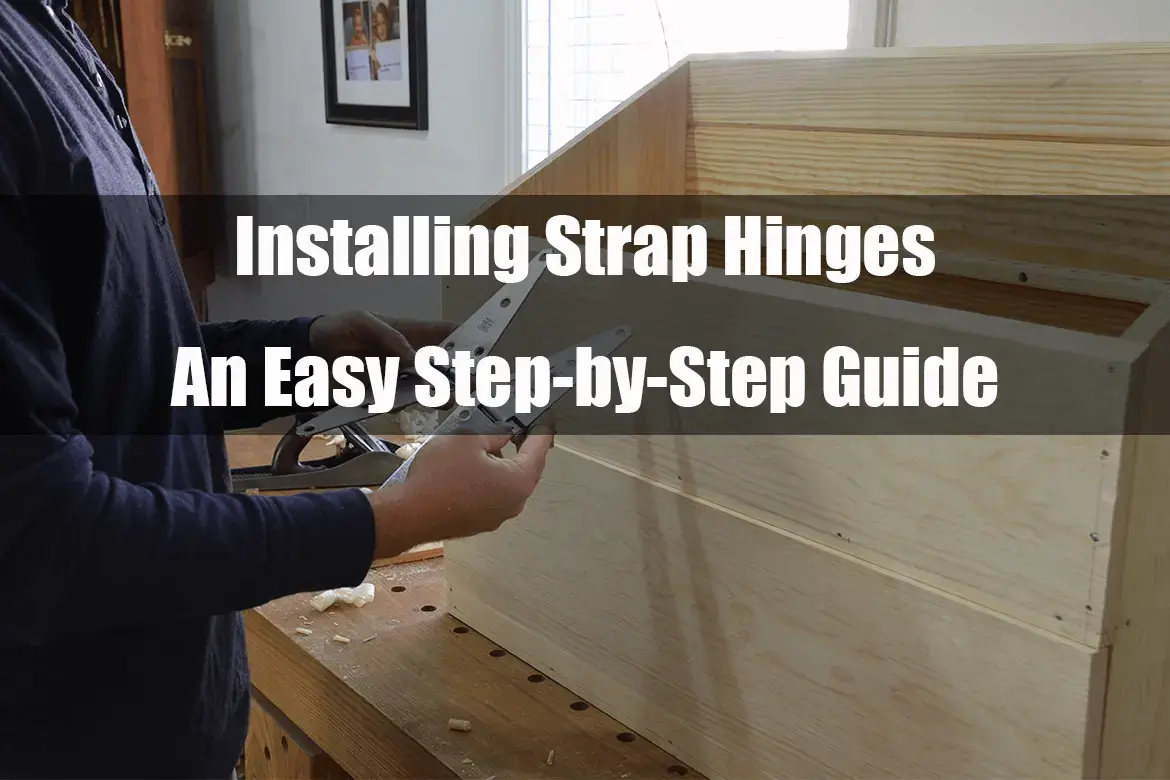
When you’re setting up doors or gates, don’t forget about the crucial part – the hinge. Specifically, strap hinges play a big role in how smoothly and strongly these structures work. Whether you’re sprucing up your doors at home or you’re in the building business, it’s important to get the basics of strap hinges.
Strap hinges are a kind of hinge used for doors and gates. They’re made of two long metal pieces joined by a pin, which lets things pivot. These hinges give strength and support, which is perfect for heavy-duty stuff.
Putting in strap hinges right is important for things to work well and last a long time. If you follow the right steps, you can boost security, stop sagging, and help your doors or gates live longer.
In this section, we’ll dive into the basics of strap hinges – their kinds, things they do, and good stuff about them. We’ll also give you step-by-step tips on how to put them in right. Whether you’re a pro or just into DIY projects, this guide will help you make smart choices about installing strap hinges.
Step 1: Get What You Need

First off, make sure you have everything you need.
Start with a strap hinge. The hinges come in different sizes and styles that you can choose according to your needs, such as 2 inch heavy-duty strap hinges, 8 inch heavy-duty strap hinges, black decorative strap hinges, etc. These are used for doors, gates, and cabinets. They’re strong and make things open and close easily. Pick one that suits your project.
Then, you’ll need screws. These little things are important for holding the hinge in place. Use screws that fit your hinge and think about stuff like how long they are.
You’ll need a screwdriver bit too. It helps tighten or loosen screws. Use the right bit for the screws you’re using.
A drill is another tool you need. It helps make holes where screws will go. Get a drill that’s good for your project.
Lastly, have a measuring tape. This helps measure right so things fit well. Use it to know how far apart things should be.
Having all these things ready before Step 1 helps you keep going without stops or problems.
Step 2: Get Ready for the Door or Gate
Before you set up a new door or gate, you’ve got to get ready so things go well. In this step, we’ll tell you what to do to get things ready.
First, take off the old hinges from the door or gate. You can use a screwdriver or a drill to do this, depending on what kind of hinges you have. Take off each hinge one by one.
After you take off the old hinges, clean the spot where you’ll put the new door or gate. Use some soap and water to get rid of dirt and stuff that’s been there for a while. Clean all the corners and edges too.
Once things are clean, make sure they’re dry before you start setting things up. This helps things stick or screw in better.
By doing all this, you’re getting your door or gate ready for a new start, and that’s important for things to work and last.
Step 3: Put the Strap Hinges in the Right Place
First, measure how wide your door or gate is. Use a measuring tape to know how far the top and bottom are from each other. This helps you know how many hinges you need.
Next, divide the width by how many hinges you want. This gives you an idea of how far apart the hinges should be. Doing this makes sure the weight gets spread out evenly.
Now, use a pencil or marker to show where each hinge should go on the door/gate and the frame. Make sure the marks are straight up and down so things fit well.
Check your measurements again before you drill holes for screws. Use a drill bit that’s a bit smaller than the screws you’ll use. Make holes where you marked stuff on both the door/gate and the frame.
Now you can attach the strap hinges using screws or bolts. They go into the holes you made. Make sure they’re tight but not too tight, so they don’t break.
Checking that the hinges are all set and don’t wobble when you open and close the door or gate is the last step here.
By doing these things carefully, you’ll make sure your hinges are in the right spot, and your door or gate will work well for a long time.
Step 4: Make Holes Before Screwing
Making holes for screws is really important. It stops the stuff you’re putting screws into from breaking or cracking. When you make a hole, it helps the screw go in right without messing things up.
Also, making holes helps you put screws in right. It helps them go in straight and stick well, so your door or gate stays strong.
To make screw holes in a door or gate, start by marking where you want them. Use a pencil or marker. Think about things like where the weight goes and where the door or gate is strongest.
Once you mark things, use a drill bit that’s the same size as your screws. This helps the screws fit just right without moving around. Carefully drill each hole so the screws will fit well.
After drilling, make sure there’s no dirt left from drilling. This helps the screws go in without any problems.
Doing this step – making holes before putting screws in – makes your door or gate setup go smooth and your hinges stay strong.
Step 5: Put the Strap Hinges on the Door or Gate
First, make sure you made holes in both the door or gate and the frame where you’ll put the strap hinges. These holes are guides for putting in the screws.
Next, line up the strap hinges with the holes on the door/gate and the frame. Make sure they fit right and are flat against the surface.
Now, use a screwdriver or a drill to put screws into each hole on the hinge. Start by putting them in a little bit to get things going before you tighten them all the way. This helps keep things in place while you work.
As you tighten each screw, make sure not to make them too tight. You want them to be snug but not too much that they break things.
After all the screws are in, check that each hinge is on tight and there’s no wobbling when you open or close the door or gate.
By following these steps and putting strap hinges on using screws, your door or gate will work really well and be strong.
Step 6: Check if Everything is Straight
Making sure things are straight is a big deal for hinges. If things aren’t lined up right, the door or gate can be hard to open or close, and it can wear out the hinges or hurt the stuff around them.
To check if things are straight, start by looking at where the hinges are on the door and the frame. They need to line up and be flat against each other for the door or gate to work well.
Use something straight, like a level or a ruler, to make sure the hinge plates are even with each other. This helps the door or gate open and close without any problems.
If things aren’t straight, you might need to fix them. You can loosen the screws on the hinge plates and move them a bit until they’re straight. Just be careful not to make the screws too tight when you’re done.
After you fix things, try opening and closing the door or gate a few times to check if everything is good.
By making sure things are straight and fixing them if they’re not, you’re making sure your strap hinges work well and don’t cause problems later.
In Conclusion: Have a Door or Gate That Works Great
To sum it up, putting in strap hinges can make your doors and gates work great. Whether you’re putting in new doors or gates or giving the old ones an upgrade, strap hinges can make a big difference.
With strap hinges, opening and closing your doors and gates will be smooth. These hinges give strength and make sure things work well, without any issues.
Putting in strap hinges isn’t hard – professionals or even people who like doing things themselves can do it. Once they’re in, these hinges last a long time and make things work really well.
Don’t deal with squeaky doors or gates that need a lot of pushing to open or close. With strap hinges, you’ll have doors and gates that work really well and look great too.
Getting good-quality strap hinges is like getting something that works well and looks good. So why go for anything less when you can have doors and gates that work smoothly, thanks to these strong and dependable hardware parts?
When you put in strap hinges, you’re not just putting in hinges – you’re putting in doors and gates that work really well.


