Hidden door hinges, also known as concealed hinges or European hinges, are a fantastic addition to any home or project. They provide a sleek, modern appearance by concealing the hinge mechanism, leaving your doors with a clean, uninterrupted surface. Whether you’re installing a new door or upgrading an existing one, understanding how to measure and install hidden door hinges is essential to achieve a professional and seamless look.
In this comprehensive guide, we will walk you through the step-by-step process of measuring and installing hidden door hinges. By the end of this article, you’ll have the knowledge and confidence to take on this project and transform the look of your doors.
1. Understanding Hidden Door Hinges
Hidden door hinges, also known as concealed hinges or European hinges, are designed to provide a sleek and modern appearance by concealing the hinge mechanism within the door and frame. They consist of two main components: the hinge cup and the hinge arm. The hinge cup attaches to the door, while the hinge arm is fixed to the door frame or cabinet.

One of the key advantages of hidden hinges is their adjustability. These hinges allow for precise alignment of the door, ensuring a seamless and flush fit. Hidden hinges are commonly used in various applications, including cabinets, interior doors, and furniture, where a clean and uninterrupted surface is desired.
2. Tools and Materials
Before you begin the installation process, gather the necessary tools and materials to ensure a smooth and successful project:

Hidden Door Hinges: Make sure you have the correct quantity and size of hinges based on your door’s specifications.
Screwdriver or Cordless Drill with Screwdriver Bit: You’ll need this tool to secure the hinges in place with screws.
Chisel: Chisels are essential for creating mortises in both the door and the frame or cabinet.
Hammer: Use a hammer in conjunction with the chisel for precise mortise creation.
Measuring Tape: Ensure accurate measurements throughout the installation process.
Pencil: Marking the hinge locations and other important points on the door and frame is crucial.
Square: A square helps in transferring markings and creating straight, level mortises.
Safety Glasses: Protect your eyes from wood chips and debris while chiseling.
Wood Screws: You’ll need these to secure the hinges in place.
Wood Glue (Optional): Some installations may benefit from the additional strength provided by wood glue, especially for heavier doors.
3. Measuring for Hidden Door Hinges
Proper measurement is the foundation of a successful hidden hinge installation. Here’s an in-depth look at how to measure for hidden door hinges:
3.1. Determining Hinge Quantity
The number of hinges needed depends on the size and weight of your door. For standard interior doors, two hinges are usually sufficient. However, for heavier or taller doors, it’s advisable to use three or more hinges to ensure stability and proper support.
3.2. Measuring for Door Thickness
Hidden hinges are available in various sizes to accommodate different door thicknesses. To select the appropriate hinge size, measure the thickness of your door. Standard interior doors are typically either 1 3/8 inches or 1 3/4 inches thick, but custom doors may vary.
3.3. Determining Overlay

Overlay is a critical consideration when choosing hidden hinges, as it determines how much of the door covers the cabinet or frame when closed. Here’s an in-depth look at overlay options:
Full Overlay: With full overlay hinges, the door completely covers the cabinet frame when closed, providing a clean and seamless appearance.
Half Overlay: Half overlay hinges result in the door partially covering the cabinet frame, leaving a small portion of the frame visible.
Inset: Inset hinges are designed for doors set inside the cabinet frame, creating a flush and even surface when closed.
Select the overlay type that best complements your design preferences and measurements. Hidden hinges are available in various overlay options to accommodate different styles and applications.
4. Installing Hidden Door Hinges
Now that you’ve obtained the correct hinges and measured your door, it’s time to proceed with the installation process. This section provides detailed steps for installing hidden door hinges:
4.1. Marking Hinge Locations
Open the door and position it in the desired closed position.
Place the hinge cups against the edge of the door where you want the hinges to be installed. Ensure that they are level and evenly spaced.
Use a pencil to mark the center of each screw hole on the hinge cups. These markings will indicate where you need to create mortises (recessed areas) for the hinges.
4.2. Creating Mortises

Hidden hinges require mortises to be chiseled into both the door and the frame or cabinet. Here’s a more detailed explanation of creating mortises:
For the Door:
Place the door on a stable surface.
Use a square to transfer the hinge cup markings from the door edge to the door’s edge, ensuring they are straight and level.
Chisel out a mortise for each hinge cup. The depth of the mortise should match the depth of the hinge cup. Take your time to ensure the mortises are straight and level.
For the Frame or Cabinet:
Position the frame or cabinet where it will be installed.
Transfer the hinge cup markings to the frame or cabinet edge using a square.
Chisel out a mortise for each hinge cup on the frame or cabinet, matching the depth of the hinge cup.
Creating precise mortises is crucial for a secure and aesthetically pleasing installation.
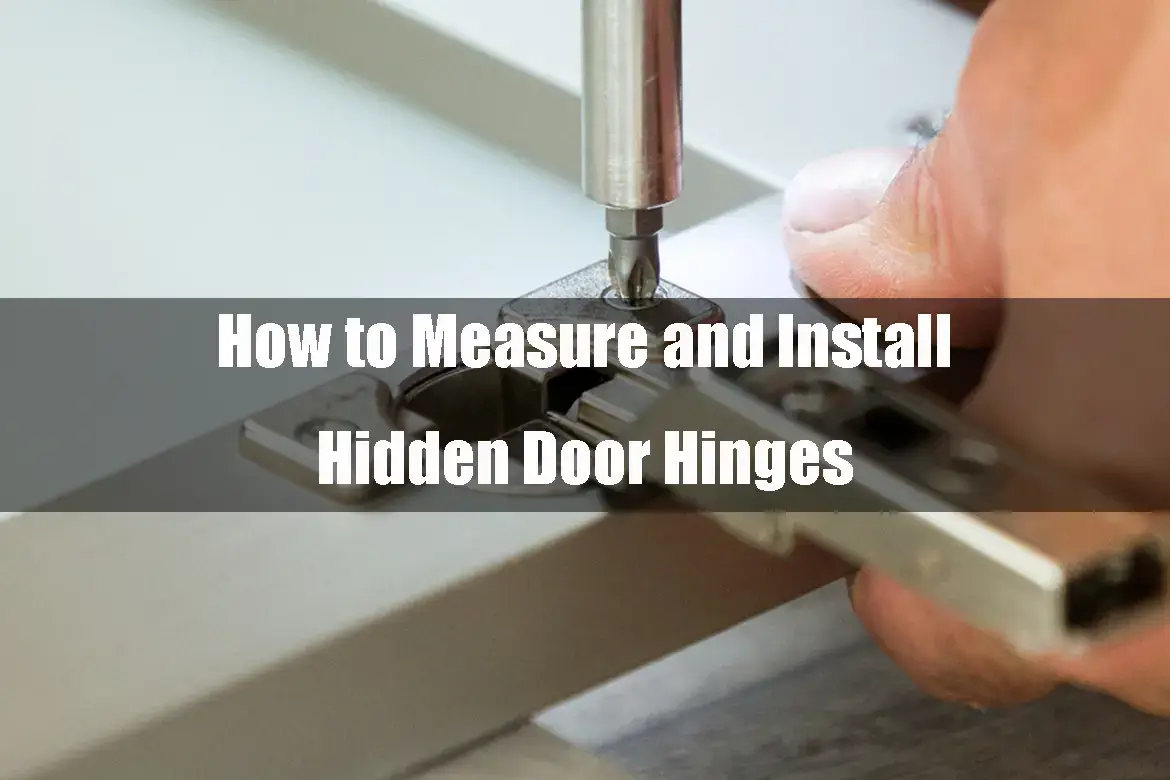
4.3. Attaching Hinges
With the mortises created, it’s time to attach the hinges:
Insert the hinge cups into the mortises on the door, ensuring they fit snugly.
Align the hinge cups on the frame or cabinet with those on the door.
Secure the hinges in place using wood screws. Begin with one screw per hinge and check for alignment before attaching the remaining screws. Be careful not to overtighten the screws, as this can affect the door’s alignment.
4.4. Adjusting for Proper Alignment
After attaching the hinges, you may need to make adjustments to ensure the door is correctly aligned and closes smoothly. Most hidden hinges are equipped with adjustment screws that allow for fine-tuning the door’s position. Here’s how to do it:
Carefully adjust the horizontal and vertical position of the door by turning the adjustment screws on the hinges. These screws allow you to move the door within the frame or cabinet to achieve a precise fit.
Test the door by opening and closing it to ensure it aligns properly and moves smoothly.
5. Tips and Troubleshooting
Here are some additional tips and troubleshooting suggestions for your hidden hinge installation:
Manufacturer’s Instructions: Always refer to the manufacturer’s instructions that come with your specific hinges. Different hinge models may have unique features or requirements.
Door Alignment: If the door is not closing correctly or appears uneven, adjustments are key. Use the adjustment screws on the hinges to fine-tune the door’s alignment until it operates smoothly and closes evenly.
Inset Doors: For inset doors, ensure that the door sits flush with the frame to achieve a seamless look.
Safety Precautions: When chiseling out mortises, wear safety glasses to protect your eyes from wood chips and debris.
6. Common Questions About Hidden Door Hinges
In this expanded section, let’s address some common questions and concerns about hidden door hinges:
Q1: Can hidden hinges be used for exterior doors?
A1: Hidden hinges are typically designed for interior doors and cabinets. For exterior doors, you’ll want to consider heavy-duty, weather-resistant hinges that can withstand the elements.
Q2: Are hidden hinges suitable for all door materials?
A2: Hidden hinges work well with various door materials, including wood and composite. However, it’s essential to ensure that the door’s weight and thickness match the hinge’s specifications for optimal performance.
Q3: Can I retrofit existing doors with hidden hinges?
A3: Retrofitting existing doors with hidden hinges can be challenging and may require significant modifications. It’s often easier to install hidden hinges during the initial door construction or when replacing an existing door.
Q4: How do I choose the right hinge overlay for my project?
A4: The choice of hinge overlay depends on your project’s design and aesthetics. Full overlay hinges provide a clean, seamless look, while half overlay and inset hinges may leave some frame visible for a different style.
Conclusion
In this expanded conclusion, we reiterate the importance of proper installation and the transformational impact of hidden door hinges on the aesthetics of your doors and cabinets:
Installing hidden door hinges can be a highly rewarding project that elevates the appearance and functionality of your doors and cabinets. With the foundation of proper measurement and installation, you can achieve a professional and seamless result.
Whether you’re a seasoned DIY enthusiast or a beginner, installing hidden door hinges is an excellent way to enhance the aesthetics of your home or woodworking project. Armed with the right tools, materials, and in-depth knowledge provided in this comprehensive guide, you’re well-prepared to transform your doors into sleek, modern masterpieces.
Remember that patience and attention to detail are key to a successful installation. Take your time to ensure accuracy at every step of the process, and your doors will thank you for the effort. Embrace the journey of hidden door hinge installation with confidence, knowing that you’re creating a more beautiful and functional living space.