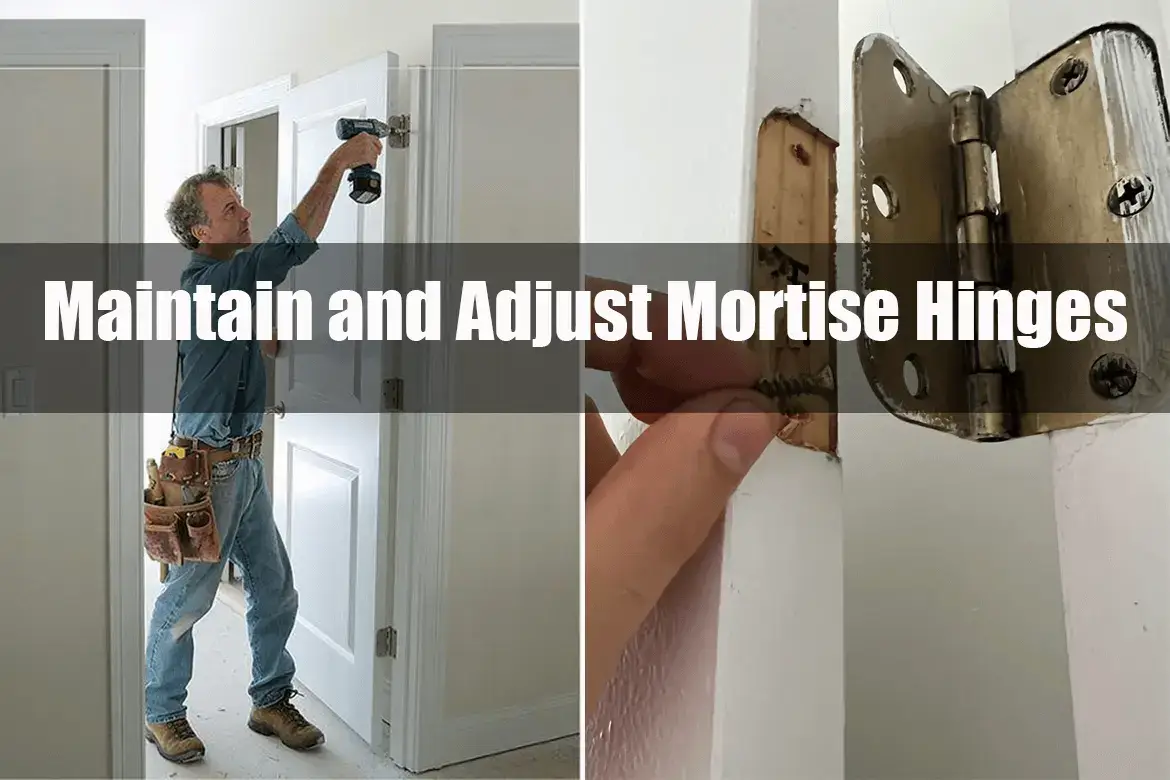
When it comes to the functionality and longevity of doors, one often overlooked component is the mortise hinge. These hinges play a crucial role in ensuring smooth operation and proper alignment of doors. Understanding the importance of maintaining and adjusting mortise hinges is essential for anyone looking to optimize their door hardware.
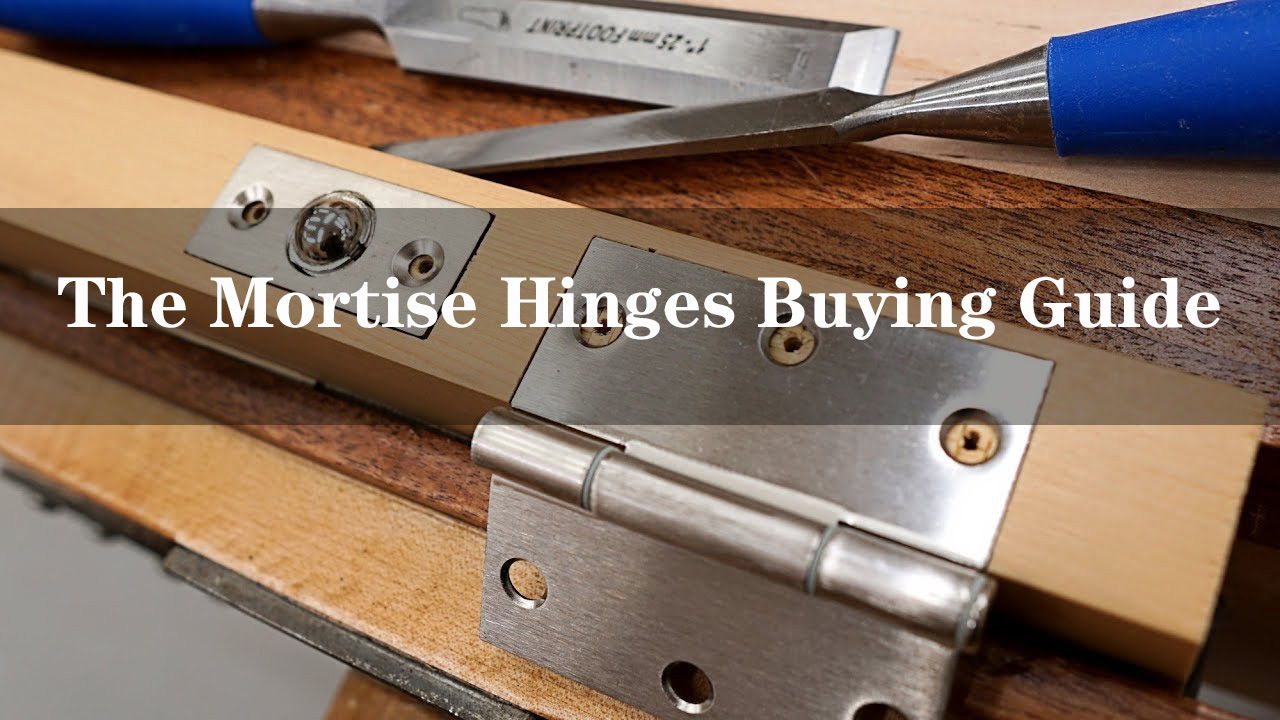
Mortise hinges, also known as door hinges, are specially designed to be installed within a recess or mortise cut into the edge of a door and its frame. This type of hinge provides a seamless appearance as it remains concealed when the door is closed. However, like any other mechanical component, regular maintenance and adjustment are necessary to ensure optimal performance.
Proper hinge maintenance involves periodic cleaning to remove dirt, dust, and debris that can hinder smooth movement. Lubrication should also be applied to reduce friction and prevent squeaking noises. Additionally, inspecting hinge screws for tightness and replacing any damaged parts is crucial in maintaining overall functionality.
Furthermore, understanding how to adjust mortise hinges can address common issues such as misalignment or sagging doors. By adjusting the hinge’s position or tension, homeowners can restore proper alignment and ensure that their doors close securely.
In conclusion, maintaining and adjusting mortise hinges should not be overlooked when it comes to door hardware maintenance. By taking proactive steps in caring for these essential components, homeowners can enjoy smooth operation, extended lifespan of their doors, and enhanced security.
Step 1: Assessing the Current State of Your Mortise Hinges
Before diving into any repairs or replacements, it is crucial to assess the current state of your mortise hinges. This step will help you determine the extent of the damage and identify the specific areas that require attention.
Start by conducting a thorough mortise hinge inspection. Begin by checking for loose screws or any signs of instability. Tighten any loose screws to ensure a secure fit and prevent further damage.
Next, examine the hinge for wear and tear. Look for visible signs such as rust, corrosion, or worn-out components. Pay close attention to areas where friction occurs during door movement, as these are more prone to deterioration.
By thoroughly assessing your mortise hinges, you can gain a clear understanding of their condition and make informed decisions on how best to proceed with repairs or replacements. Taking this step will save you time and effort in the long run by addressing any underlying issues before they escalate into more significant problems.
Step 2: Tightening Loose Screws on Mortise Hinges

Tightening loose screws on mortise hinges is a crucial step in ensuring the stability and functionality of doors and cabinets. When left unattended, loose screws can lead to misalignment, sagging, and even complete failure of the hinge mechanism. To prevent such issues, it is essential to address this problem promptly.
The first tool you’ll need for this task is a screwdriver or a drill-driver. These tools provide the necessary torque to tighten the screws securely. Before starting, make sure you have the correct size and type of screwdriver or drill-bit that matches the screws on your hinges.
To begin, locate the loose screws on your mortise hinges. Gently test each screw by applying slight pressure with your finger or hand. If there is any noticeable movement or if the screw easily rotates, it’s time to tighten it.
Using your screwdriver or drill-driver, firmly grip the head of the loose screw. Apply steady pressure while turning clockwise to tighten it. Be careful not to overtighten as this can strip or damage the threads in both the hinge and screw.
Once all loose screws have been tightened, it’s important to take preventive measures to avoid future loosening. One effective method is applying a small amount of thread-locking adhesive on each screw before tightening them back into place. This adhesive helps create a stronger bond between the threads and prevents them from loosening due to vibrations or regular use.
Regular maintenance is also key in preventing future loosening of screws on mortise hinges. Inspect them periodically and retighten any that may have come loose over time.
By following these steps and taking preventive measures, you can ensure that your mortise hinges remain secure and functional for years to come
Step 3: Lubricating Your Mortise Hinges for Smooth Operation

Ensuring smooth operation of your mortise hinges is crucial for maintaining the functionality and longevity of your doors. In this step, we will explore the importance of lubricating your mortise hinges and provide guidance on choosing the right lubricant and applying it to the hinge components.
Lubrication plays a vital role in reducing friction and preventing wear and tear on your hinges. By applying the appropriate lubricant, you can enhance the smoothness of movement, reduce squeaking noises, and extend the lifespan of your hinges.
When it comes to selecting a lubricant for your mortise hinges, it is essential to choose one that is specifically designed for door hardware. Look for a high-quality lubricant that is formulated to withstand varying temperatures and resist moisture. This will ensure optimal performance in different environments.
Once you have chosen the right lubricant, it’s time to apply it to the hinge components. Start by opening the door fully so that you have easy access to both sides of each hinge. Using a small brush or a cotton swab, carefully apply a thin layer of lubricant to all moving parts of the hinge – including the pins, knuckles, and leaf surfaces.
Ensure that you distribute the lubricant evenly across all areas while being mindful not to over-lubricate. Excess lubrication can attract dust and debris, leading to potential clogging or build-up over time.
After applying the lubricant, gently move the door back and forth several times to allow for proper distribution of the product within the hinge mechanism. This will help ensure that all moving parts are adequately coated with lubrication.
By taking these steps to properly lubricate your mortise hinges, you can enjoy smoother operation and prolong their lifespan. Regular maintenance in this regard will help prevent unnecessary friction-related issues down-the-line while ensuring optimal functionality for years to come.
Step 4: Adjusting the Alignment of Misaligned Mortise Hinges

In step 4 of our guide, we will explore the process of adjusting the alignment of misaligned mortise hinges. Identifying and addressing misalignment issues is crucial for ensuring that doors and cabinets function properly. By following these steps, you can easily rectify any alignment problems and restore the functionality of your hinges.
Firstly, it is essential to identify whether your mortise hinges are misaligned. Common signs include difficulty in opening or closing doors smoothly, uneven gaps between the door and frame, or visible rubbing or scraping marks on the hinge side.
Once you have identified a misalignment issue, there are two primary methods to correct it: using shims or adjusting screws. Shims are thin pieces of material that can be inserted between the hinge plates and the door or frame to adjust the positioning. This method is particularly useful when dealing with minor misalignments.
Alternatively, adjusting screws can be found on some mortise hinges. These screws allow for small adjustments in vertical or horizontal positioning by loosening them slightly and repositioning the hinge plates accordingly. This method provides more precise control over alignment adjustments.
By following these steps and utilizing either shims or adjusting screws as needed, you can effectively realign your mortise hinges and restore proper functionality to your doors or cabinets.
Step 5: Dealing with Sticking or Binding Mortise Hinges
Dealing with sticking or binding mortise hinges can be a frustrating challenge, but with the right approach, you can overcome this common issue. In step 5 of our guide, we will explore effective methods for troubleshooting and resolving these problems.
One of the most common causes of sticking or binding hinges is the presence of problem areas that prevent smooth movement. By carefully examining your hinges, you can identify these areas and take appropriate action to rectify the issue.
Sanding or filing down problem areas is a tried-and-true technique that can help alleviate sticking or binding. By gently removing excess material from the hinge or its corresponding mortise, you can create a smoother surface for improved functionality. It’s important to exercise caution and patience during this process to ensure that you do not inadvertently damage the hinge or surrounding structure.
In addition to sanding or filing, there are other troubleshooting techniques that may prove useful in addressing sticking issues. Lubricating the hinge with a suitable lubricant can reduce friction and promote smoother movement. Adjusting the position of the hinge within its mortise may also help alleviate binding problems.
By following these steps and employing these techniques, you can effectively address sticking or binding issues with mortise hinges. Remember to approach each step with care and precision to achieve optimal results.
Conclusion: Keeping Your Doors Functioning Flawlessly
In conclusion, regular maintenance and adjustment of mortise hinges is crucial for keeping your doors functioning flawlessly and prolonging their lifespan. By taking the time to properly care for these hinges, you can ensure that your doors operate smoothly and efficiently.

Regular maintenance involves inspecting the hinges for any signs of wear or damage, lubricating them to reduce friction, and tightening any loose screws or bolts. Additionally, adjusting the hinges allows you to correct any misalignment or sagging that may occur over time.
By implementing these simple maintenance practices, you can prevent issues such as squeaking, sticking, or even complete failure of your doors. This not only saves you from costly repairs or replacements but also ensures the safety and security of your property.
Remember that neglecting regular maintenance and adjustment of mortise hinges can lead to more significant problems down the line. It’s always better to be proactive in caring for your doors rather than waiting for them to malfunction.
In conclusion, prioritize regular maintenance and adjustment of mortise hinges to keep your doors functioning flawlessly and extend their lifespan. Your efforts will pay off in the long run by ensuring smooth operation and avoiding unnecessary expenses.