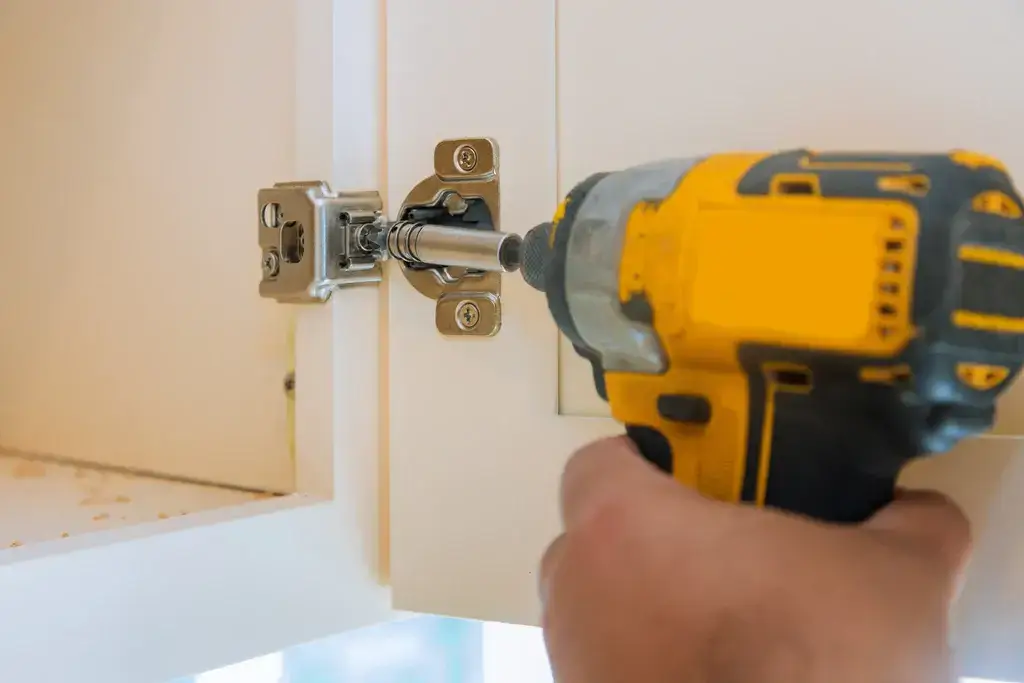
Cabinets are not just storage solutions; they contribute significantly to the aesthetics and functionality of any space. Installing cabinet hinges might seem daunting, especially for those new to DIY projects or home improvements. However, with the right tools, a bit of patience, and a systematic approach, installing cabinet hinges can be a straightforward task. In this comprehensive guide, we’ll walk you through the step-by-step process of installing cabinet hinges effortlessly.
Understanding Cabinet Hinges

Before diving into the installation process, it’s essential to understand the different types of cabinet hinges available:
Overlay Hinges: These hinges overlay the cabinet frame, leaving part of the hinge visible when the cabinet door is closed.
Inset Hinges: Designed to fit inside the cabinet frame, these hinges are concealed when the cabinet door is shut, providing a cleaner look.
European Hinges: Also known as concealed hinges, these are adjustable and allow for different door opening angles.
Barrel Hinges: Typically used in antique cabinets, these hinges consist of two interlocking barrels and are visible when the door is closed.
Tools and Materials Needed

Gather the following tools and materials before starting the installation process:
Tools
Screwdriver: A Phillips or flathead screwdriver, depending on the type of screws provided with the hinges.
Measuring Tape: For accurate measurements of cabinet doors and frames.
Pencil: To mark hinge placement on the cabinet doors and frames.
Drill and Drill Bits: Use a drill to create pilot holes for the screws. Drill bits should be slightly smaller than the screws for pre-drilling.
Level: Ensures the hinges are installed straight and aligned properly.
Masking Tape (Optional): Helps prevent splintering when drilling into the cabinet doors or frames.
Clamps (Optional): Useful for holding the cabinet doors in place during installation.
Materials
Cabinet Hinges: Choose the appropriate hinges based on your cabinet style and preference (overlay, inset, European, barrel, etc.).
Cabinet Doors: The doors you’ll be installing hinges onto. Ensure they’re the correct size and style for your cabinets.
Screws: Usually provided with the hinges, but ensure they’re the correct size and type for your cabinet doors and frames.
Wood Shims (Optional): For adjustments if the cabinet doors aren’t hanging evenly.
Step-by-Step Guide to Install Cabinet Hinges

Absolutely, here’s a detailed step-by-step guide on how to install cabinet hinges:
Step 1: Gather Measurements
Before you begin, measure the dimensions of your cabinet doors and frames. Use a measuring tape to determine the height, width, and thickness of the doors. Mark where you plan to install the hinges on both the doors and frames using a pencil. Take precise measurements as these will guide the placement of the hinges.
Step 2: Choose the Right Hinge
Select the appropriate type of hinge based on your cabinet style and door type. Ensure the hinges are durable enough to support the weight and size of your cabinet doors. Consider whether you need overlay hinges (visible on the exterior), inset hinges (hidden when the door is closed), or another specific hinge type that suits your design and functionality needs.
Step 3: Mark Hinge Placement
Using the measurements taken in Step 1, mark the precise positions for the hinges on both the cabinet door and the frame. For overlay hinges, mark the position on the interior edge of the frame. For inset hinges, mark the interior side of the cabinet door. Take your time with this step to ensure accuracy.
Step 4: Pre-drill Holes
With a drill bit slightly smaller in diameter than the screws provided with the hinges, pre-drill holes at the marked positions on the cabinet door and frame. This step helps prevent wood splitting when inserting the screws later. Optionally, you can apply masking tape over the marked areas before drilling to further prevent splintering.
Step 5: Attach the Hinges
Hold the hinge against the marked position on the cabinet door or frame, aligning it with the pre-drilled holes. Start by securing the hinges to the cabinet door first. Using a screwdriver, insert and tighten the screws provided with the hinges through the screw holes. Ensure the hinge is firmly attached but avoid overtightening the screws.
Step 6: Check Alignment
Once the hinges are attached to both the cabinet door and frame, check the alignment. Open and close the cabinet door to ensure it swings smoothly and sits flush against the cabinet frame. Use a level to verify that the door hangs straight. Adjust the hinges if necessary by loosening the screws slightly and repositioning the hinge.
Step 7: Adjust if Necessary
If the cabinet door does not close properly or aligns unevenly, make necessary adjustments. Loosen the screws slightly, reposition the hinge to achieve the desired alignment, and then retighten the screws securely. Ensure that the adjustments provide a smooth and even closure of the cabinet door.
Step 8: Repeat for Additional Doors
If you have multiple cabinet doors to install hinges on, repeat the same process for each door. Maintain consistency in measurements and alignment throughout to ensure uniformity in the installation.
Conclusion
Installing cabinet hinges is a fundamental aspect of cabinet assembly or refurbishment. By following this step-by-step guide and paying attention to detail, you can easily achieve professional-looking results. Remember, patience and precision are key when installing cabinet hinges. With practice, this task will become more manageable, allowing you to tackle more complex DIY projects confidently. Now that you’ve mastered the art of installing cabinet hinges, you’re one step closer to transforming your living spaces with functional and stylish cabinets.


