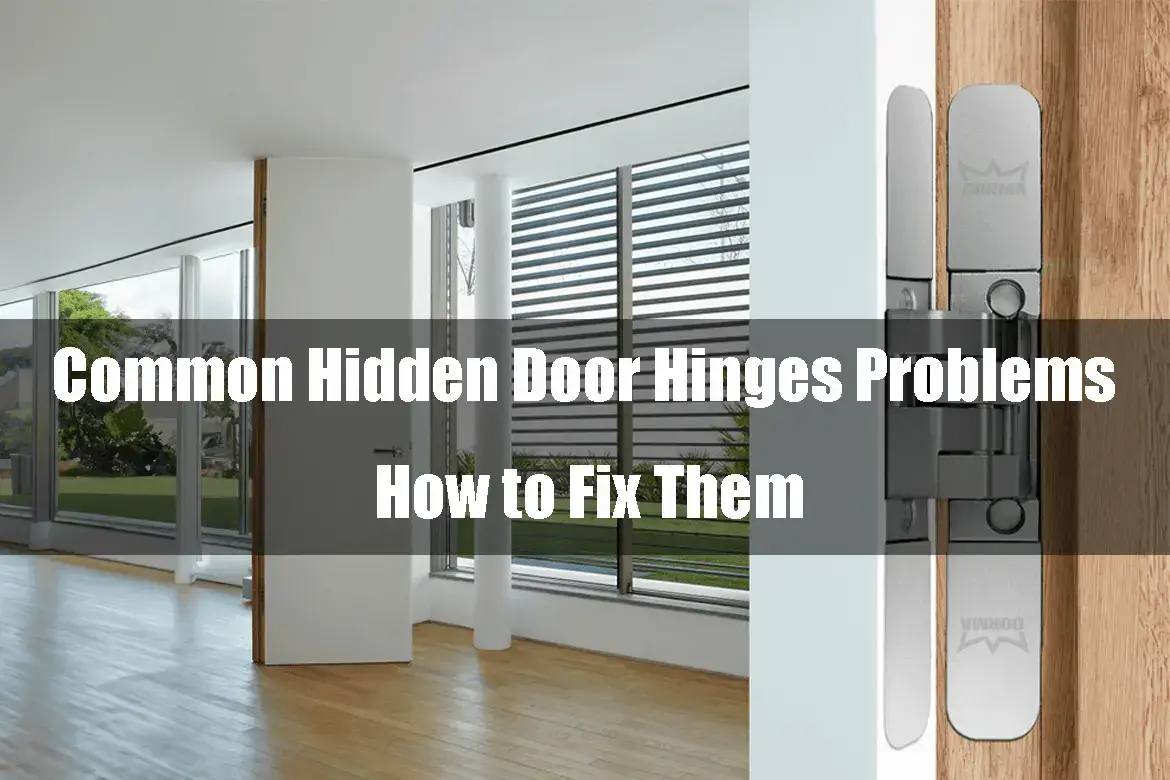
Hidden door hinges, also known as concealed hinges, are a popular choice for those looking to maintain a sleek and seamless look in their homes. These hinges are designed to be installed inside the door and frame, making them virtually invisible when the door is closed. While hidden door hinges offer many advantages, they can also present some common problems. In this comprehensive guide, we will explore these common hidden door hinge problems and provide you with detailed solutions to fix them.
1. Squeaking Hidden Door Hinges

Squeaking hinges can be not only annoying but also embarrassing when they announce your every move. This issue often arises due to the friction and lack of lubrication in the hinge components. To comprehensively address this problem, consider the following detailed steps:
Step 1: Remove the Hinge Pin
Begin by taking a closer look at the hinge pin. To do this, remove it from the hinge. You can usually do this by gently tapping it with a hammer or using a pin removal tool. Be cautious not to damage the pin during removal.
Step 2: Lubricate the Hinge Pin
The key to resolving squeaky hinges lies in proper lubrication. Apply a high-quality lubricating oil or silicone spray to the hinge pin. Ensure that the lubricant reaches all the nooks and crannies of the pin, as thorough coverage is essential.
Step 3: Reinsert the Hinge Pin
After applying the lubricant, carefully reinsert the hinge pin back into the hinge. Pay attention to ensure that it goes in smoothly without any obstructions.
Step 4: Operate the Door
The final step is to test the results. Open and close the door several times to allow the lubricant to distribute evenly across the hinge components. This should significantly reduce or eliminate the squeaking.
If, despite these efforts, the squeaking persists, it may be an indicator of more significant issues. In such cases, consider inspecting the hinge pin for damage or excessive wear. If the pin is indeed damaged, replace it with a new one. If the hinge itself is extensively worn or damaged, it might be time to invest in a new hinge.
2. Misalignment of Hidden Door Hinges
Misalignment can be a persistent issue that affects not only the functionality but also the aesthetics of a hidden door. When a hidden door is not correctly aligned with the frame, it can lead to various problems, including binding, sticking, and an uneven appearance. To comprehensively address this issue, follow these detailed steps:
Step 1: Check Hinge Placement
Begin by inspecting the placement of the hinges on both the door and the frame. Ensure that the hinges are properly aligned and securely fastened to their respective surfaces.
Step 2: Adjust Hinge Position
If misalignment is detected, adjustments are necessary. Start by adjusting the position of the hinges to ensure that the door is flush with the frame. Depending on the degree of misalignment, you may need to use shims or spacers to fine-tune the alignment.
Step 3: Recheck Alignment
After making adjustments, carefully recheck the alignment of the door by opening and closing it. Pay close attention to any signs of binding, sticking, or uneven gaps between the door and the frame.
Continue making adjustments as needed until the door closes smoothly without any issues. Proper alignment not only ensures smooth operation but also enhances the overall appearance of the hidden door.
3. Door Sagging

A sagging hidden door is a common issue that can affect both its appearance and functionality. As the door sags over time, it can become misaligned with the frame, leading to difficulties in closing it properly. To comprehensively address this problem, follow these detailed steps:
Step 1: Reinforce the Hinges
The initial step in addressing a sagging hidden door is to reinforce the hinges. Consider adding hinge shims or installing hinge support plates. These plates are designed to distribute the weight of the door more evenly, preventing sagging and ensuring proper alignment.
Step 2: Replace Damaged Hinges
If the hinges themselves are damaged or excessively worn, it might be necessary to replace them with new, sturdier hidden door hinges. Damaged hinges can exacerbate sagging and misalignment issues.
Step 3: Realign the Door
If the door is already sagging significantly, it may be challenging to achieve proper alignment solely by reinforcing the hinges. In such cases, it’s essential to lift the door back into alignment. Use shims or additional support to help raise the door back into its correct position.
Once the sagging issue is effectively addressed, the door should close smoothly and maintain a flush appearance with the frame, ensuring both functionality and aesthetics.
4. Binding or Sticking
Binding or sticking is a frustrating issue that can hinder the smooth operation of a hidden door. It can make opening and closing the door difficult and potentially lead to damage over time. To comprehensively address this problem, follow these detailed steps:
Step 1: Check for Obstructions
Begin by thoroughly inspecting the hinge mechanism for any obstructions or debris that may be causing the binding. Remove any dirt, dust, or debris that you find, ensuring that the hinge components are clean and free of any hindrances.
Step 2: Lubricate the Hinges
Proper lubrication is essential to reduce friction and prevent binding. Apply a high-quality lubricating oil or silicone spray to the hinge components, paying particular attention to the pivot points. Open and close the door multiple times to help distribute the lubricant evenly.
Step 3: Adjust Tension
Most hidden hinges come with a tension adjustment screw that allows you to fine-tune the opening and closing resistance. Experiment with adjusting the tension until the door operates smoothly without any binding or sticking. Be patient and make gradual adjustments, testing the door’s operation after each change.
By addressing binding or sticking issues comprehensively, you can ensure that your hidden door operates seamlessly and without any frustrating interruptions.
5. Hidden Door Hinge Wear and Tear
Over time, wear and tear are inevitable for any mechanical component, including hidden door hinges. This wear and tear can result in decreased performance and, in some cases, hinge failure. To comprehensively address this issue, follow these detailed steps:
Step 1: Inspect for Damage
Regular inspections are crucial to identifying signs of wear and tear early on. Periodically inspect your hidden hinges for any visible signs of damage, including loose screws, bent components, or excessive wear on hinge pins or pivot points.
Step 2: Tighten Loose Screws

If you find any loose screws during your inspection, tighten them to ensure that the hinge is securely attached to both the door and the frame. Loose screws can contribute to hinge wear and should be addressed promptly.
Step 3: Replace Damaged Parts
If you discover severely worn or damaged hinge components during your inspection, such as hinge pins or pivot points, it’s essential to replace them promptly. Replacing damaged parts can significantly extend the lifespan of your hidden door hinges.
Step 4: Lubricate Regularly
As part of routine maintenance, apply a high-quality lubricating oil or silicone spray to the hinge components. Regular lubrication helps keep the hinges operating smoothly and reduces the effects of wear and tear.
If, despite these efforts, the hinges are significantly worn or damaged beyond repair, it may be necessary to invest in new hinges. Replacing old and worn hinges with new ones can ensure the continued functionality and longevity of your hidden door.
6. Hinge Pin Removal Difficulty
Removing the hinge pin for maintenance or adjustments can be challenging, especially when it’s stuck due to rust or other factors. To comprehensively address this issue, follow these detailed steps:
Step 1: Tap with a Hammer
Begin by gently tapping the hinge pin with a hammer. This can help break loose any rust or corrosion that may be holding the pin in place. Use a light touch to avoid damaging the hinge or the door.
Step 2: Apply Penetrating Lubricant
To further aid in loosening a stubborn hinge pin, apply a penetrating lubricant such as WD-40. Allow the lubricant to sit for several hours or overnight to effectively penetrate and break down rust or debris.
Step 3: Use a Pin Removal Tool
Attempt to remove the pin using a pin removal tool or a screwdriver and hammer. When using a pin removal tool, make sure to follow the manufacturer’s instructions carefully. If using a screwdriver and hammer, exercise patience and avoid using excessive force to prevent damage.
By following these steps, you should be able to safely remove the hinge pin for maintenance or adjustments, even if it’s stuck due to rust or corrosion.
7. Door Not Staying Closed

A hidden door that fails to stay closed securely can be inconvenient and may compromise privacy or security. To comprehensively address this issue, follow these detailed steps:
Step 1: Check Latch or Catch Alignment
Begin by examining the alignment of the latch or magnetic catch on both the door and the frame. Ensure that they are properly aligned with each other.
Step 2: Adjust Latch or Catch
If misalignment is detected, make adjustments to the latch or magnetic catch to ensure they engage properly when the door is closed. Proper alignment is crucial for a secure closure.
Step 3: Replace Latch or Catch
If the latch or magnetic catch is worn or damaged and adjustments do not resolve the issue, consider replacing it with a new one. A well-functioning latch or catch is essential for keeping the hidden door closed securely.
By following these comprehensive steps, you can effectively address and resolve the issue of a hidden door that does not stay closed as intended. Ensuring proper closure enhances both the functionality and security of your concealed doors.
In conclusion, hidden door hinges are a fantastic addition to any home, providing a sleek and seamless look. However, like any mechanical component, they can encounter problems over time. By following the solutions provided for these common hidden door hinge problems and performing regular maintenance, you can ensure that your hidden door continues to operate smoothly and maintain its elegant appearance. Remember that attention to detail and patience are key to successfully addressing and fixing hidden door hinge issues, ultimately ensuring the longevity and functionality of your concealed doors.
