So, you’ve got a brand-new door blank and you’re excited to give it that final touch – T hinges for a smooth and stylish swing. Fear not, because we’re here to guide you through each step of the way. In this comprehensive guide, we’ll walk you through the simple yet satisfying process of installing T hinges on your door blank. Let’s embark on this DIY adventure and get those hinges securely in place!
What You’ll Need:
T hinges (ensure they’re the right size for your door)
Screws (appropriate for wood)
Screwdriver or drill
Pencil
Measuring tape
Optional: level (for extra precision)

How to Install T hinges: Step by Step
Step 1: Prepare Your Tools and Work Area
First things first, gather all your tools and materials. Lay your door blank on a stable and flat surface, making sure you have enough room to work comfortably. Adequate lighting is your friend here – you’ll want to see everything clearly.
Step 2: Decide on Hinge Placement
Take a moment to decide where you want your T hinges to sit. A general guideline is to position one hinge around 7 inches from the top of the door and the other roughly 11 inches from the bottom. This placement ensures that your door gets the right balance and support for a smooth swing.
Step 3: Mark Hinge Locations
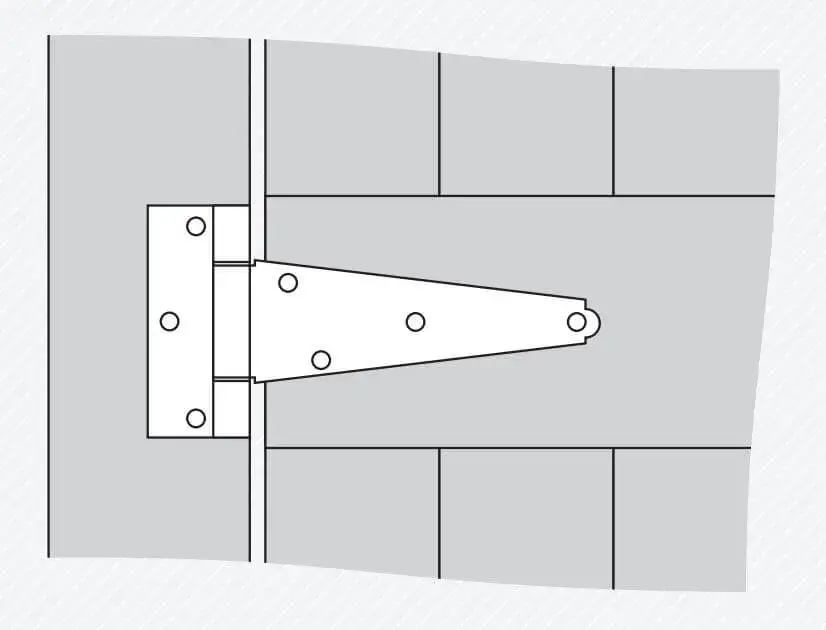
Hold your T hinge against the edge of the door at the spots you’ve selected. With a trusty pencil, mark where the screw holes will go on both the door and the door frame. Ensure that the hinge is flush against the door’s edge for accurate markings.
Step 4: Pre-Drill Screw Holes
Now it’s time to gently pre-drill small holes where you’ve made your pencil marks. This little step makes it much easier to insert the screws without splitting the wood – a small precaution that can save you a headache later.
Step 5: Attach the Hinges
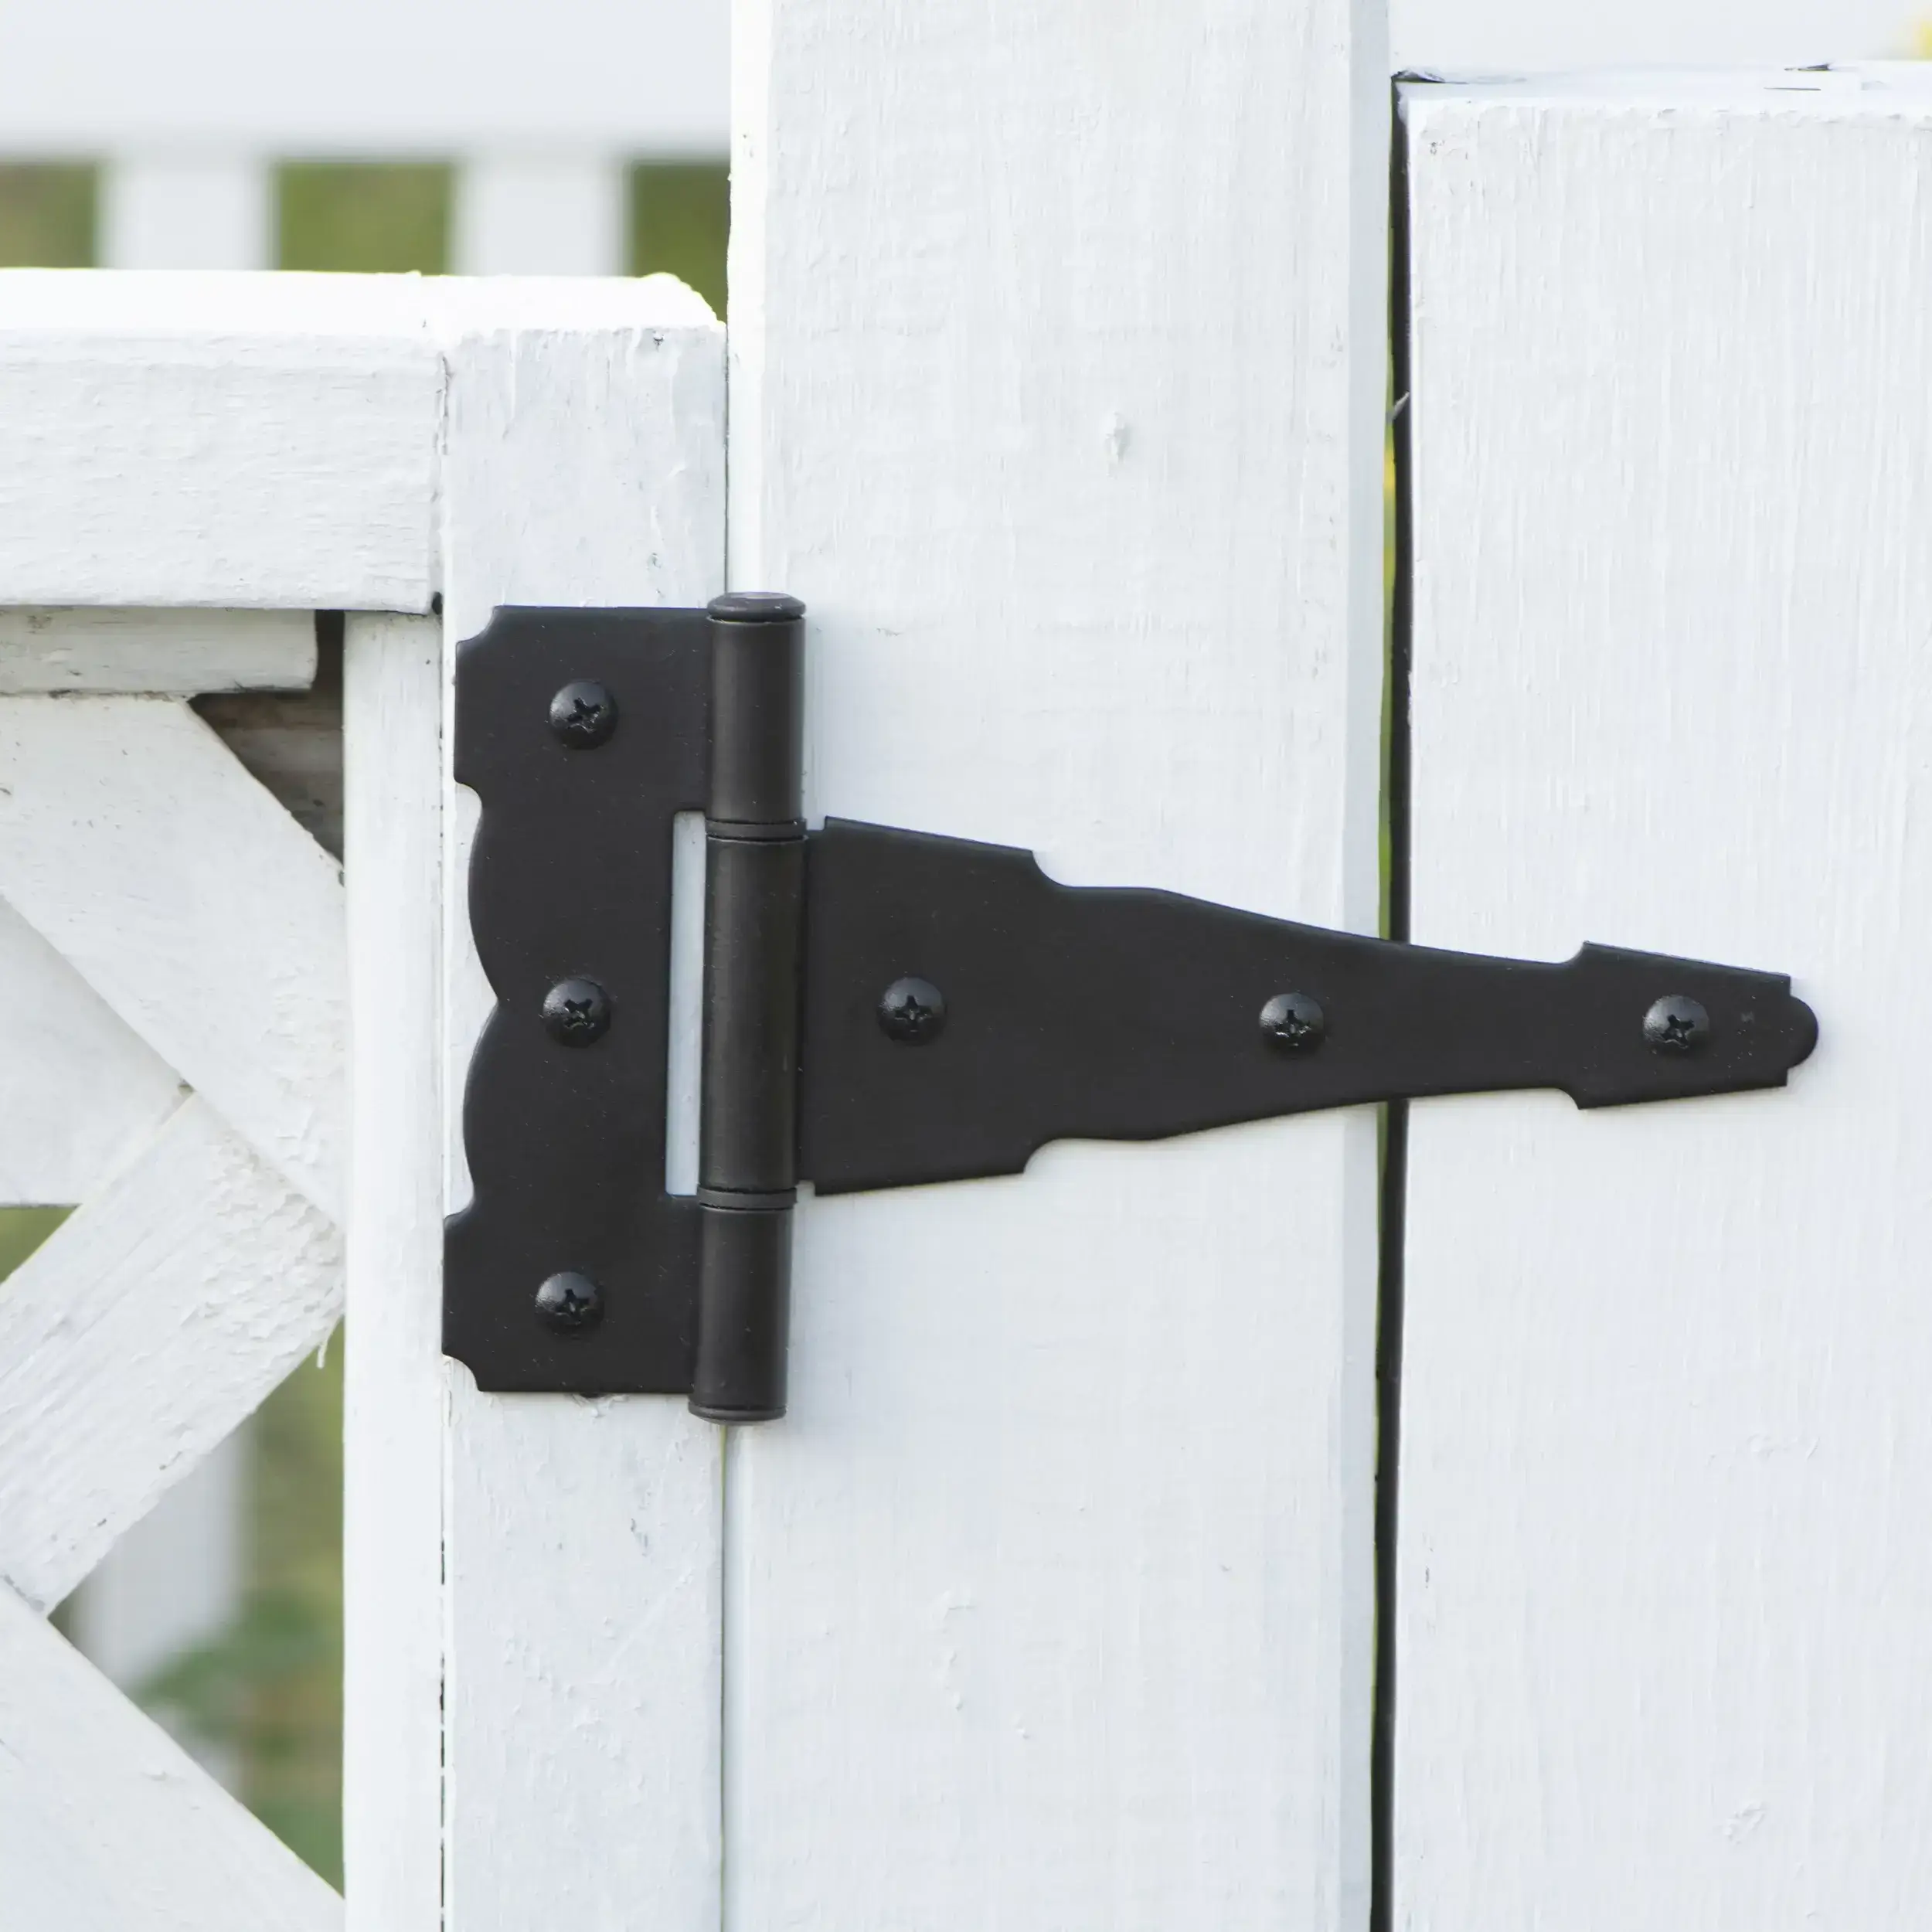
Position your T hinge, aligning the holes with the pre-drilled ones on both the door and the frame. Slide your screws into these holes and start tightening them up using your screwdriver or drill. Remember, a secure fit is what you’re aiming for here.
Step 6: Check for Alignment
With your hinges now in place, give the door a gentle swing to see if it moves smoothly and evenly. If you notice any hitches, don’t worry – you can simply adjust the hinges slightly until you get that perfect swing.
Step 7: Level the Door
In case your door seems a bit uneven, a small level can come to the rescue. Check if your door is balanced by using the level, and if needed, tweak the hinge placement to get that harmonious swing.
Step 8: Test the Door
Now’s the moment of truth – give your newly hinged door a few swings. Open and close it multiple times to ensure it moves with the grace you intended.
Step 9: Add Finishing Touches
If you’re pleased with how your door is swinging, it’s time to give it a polished look. If the screw heads are visible, countersink them just a bit and fill the holes with a touch of wood filler for that clean finish.
Step 10: Revel in Your Achievement
Congratulations! You’ve successfully installed T hinges on your door blank. Step back and take in the sight of your door swinging smoothly and looking even better than you imagined.
Step 11: Admire Your Accomplishment
Take a moment to appreciate what you’ve achieve – a well-hung door that not only swings smoothly but also carries a sense of accomplishment with it.
Step 12: Troubleshooting and Adjustments
If you notice any issues with the swing, such as the door not closing properly or rubbing against the frame, don’t worry. You can make minor adjustments by loosening the screws slightly and repositioning the hinge. Remember, a little tweak can make a big difference in achieving that perfect swing.
Step 13: Long-Term Maintenance
To ensure your newly installed T hinges continue to perform their best, a bit of ongoing care goes a long way. Occasionally check the screws to make sure they’re snug and haven’t come loose. If you notice any squeaking or stiffness, a drop of lubricating oil can work wonders to keep everything moving smoothly.
Extra Tips for a Successful Installation
1. If your door is exceptionally heavy, you might want to consider adding an additional T hinge for extra support.
2. Take your time during each step, ensuring accuracy in measurements and alignment.
3. When inserting the screws, avoid over-tightening as it can strip the wood or damage the hinge.
4. If you’re installing T hinges on an exterior door exposed to the elements, consider using weather-resistant screws to prevent corrosion.
In Conclusion
Installing T hinges on a door blank is a rewarding DIY endeavor that not only enhances the door’s functionality but also lets you enjoy the satisfaction of a job well done. With our step-by-step guide, the right tools, and a little patience, you can ensure that your door swings smoothly and stylishly. From preparation to finishing touches, each step contributes to creating a seamlessly swinging door that adds charm to your space. So, roll up your sleeves, gather your tools, and embark on this enjoyable journey of door transformation. Your newly installed T hinges will be a testament to your craftsmanship and the newfound elegance of your door. Happy DIY-ing!