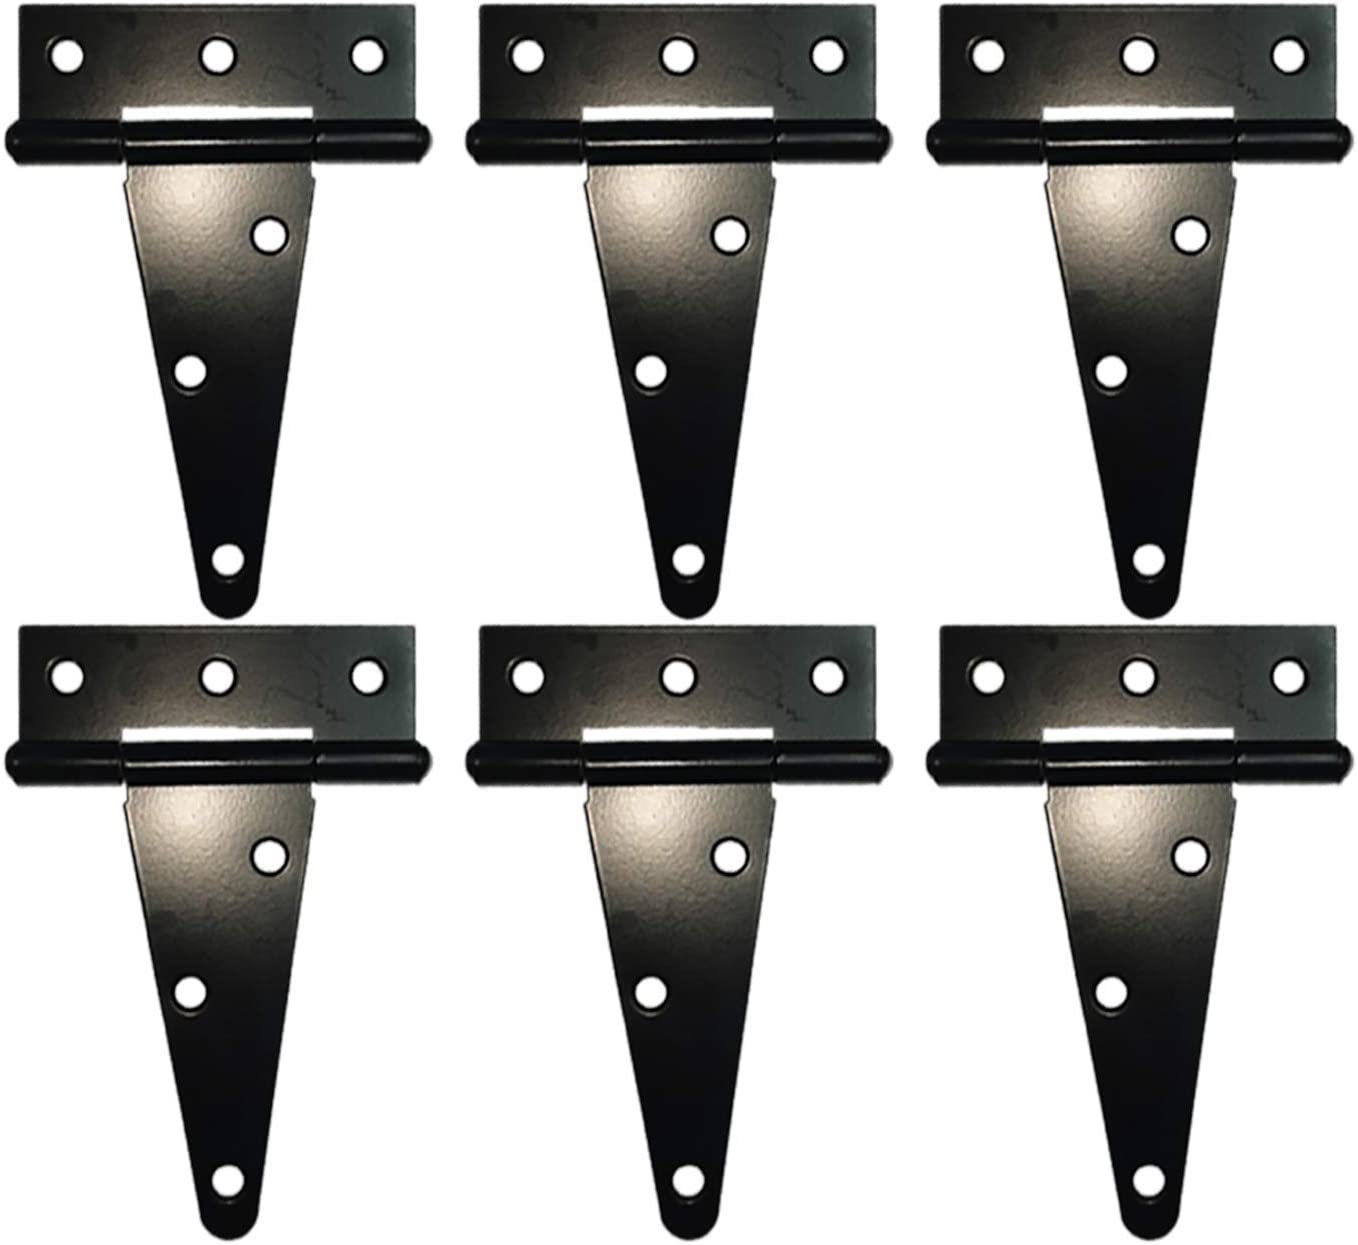
T hinges are essential components in many gate, door, and cabinet applications, offering both functional support and aesthetic value. However, like any hardware, T hinges are susceptible to wear and tear or installation errors, which can lead to operational issues. In this guide, we will outline 8 common problems with T hinges, explain the root causes, and provide detailed, step-by-step instructions to help you fix them.
By following these professional repair steps, you’ll be able to maintain the smooth functioning of your T hinges and ensure longevity in their performance.
1. Misaligned Hinges Causing Door Sagging
Misaligned T hinges can result in sagging doors, leading to difficulties in opening and closing. This issue is commonly due to improper installation or warping over time.
How to Fix:
Assess the Alignment: Begin by examining the door to determine the extent of the misalignment. Use a carpenter’s level to check if the door is hanging unevenly. Pay close attention to the gap between the door and the frame — a larger gap at the top or bottom typically indicates hinge misalignment.
Loosen the Screws: With a screwdriver, carefully loosen the screws on the misaligned hinge. You do not need to remove them completely, just enough to allow you to adjust the hinge position.
Reposition the Door: Gently lift the door to correct its alignment. You may need someone to assist by holding the door steady while you work. Ensure the door is evenly aligned with the frame by checking with a level.
Secure the Hinge: Once the door is properly aligned, tighten the screws back into place. Ensure they are firmly tightened but avoid over-tightening, which can strip the screw holes or damage the wood.
Add Extra Support (Optional): If the door is heavy and prone to sagging, consider adding an additional hinge in the middle for extra support. This distributes the door’s weight more evenly and prevents future misalignment.
2. Hinges Making Squeaking Noises
Squeaky hinges can be frustrating and often result from friction between the hinge parts due to dirt or lack of lubrication.
How to Fix:
Identify the Problem Area: Open and close the door a few times to identify where the squeaking is coming from. Pay attention to the specific hinge joints that are producing noise.
Clean the Hinges: Begin by cleaning the hinges thoroughly. Dust, dirt, and debris often accumulate within the hinge joints, causing friction. Use a dry cloth or a small brush (like an old toothbrush) to wipe away any visible dirt or debris. For more stubborn grime, use a mild soap and water solution, then dry the hinge completely before moving to the next step.
Apply Lubrication: Use a high-quality lubricant such as WD-40, silicone spray, or graphite powder. These lubricants are effective in reducing friction and noise. Spray or apply the lubricant directly to the hinge joints and the hinge pin (the central component of the hinge where the movement occurs). Be sure to cover all moving parts.
Distribute the Lubricant: After applying the lubricant, open and close the door several times to allow the lubricant to penetrate the entire hinge mechanism. This helps distribute the lubricant evenly, ensuring all friction points are covered.
Wipe Excess Lubricant: After moving the door back and forth, use a clean cloth to wipe away any excess lubricant that may have dripped or pooled. This prevents the lubricant from attracting more dirt in the future.
Check for Worn Parts: If the squeaking persists even after lubrication, check for worn-out hinge pins or bent hinge plates. In such cases, you may need to replace the affected parts to completely eliminate the noise.
3. Rusty Hinges
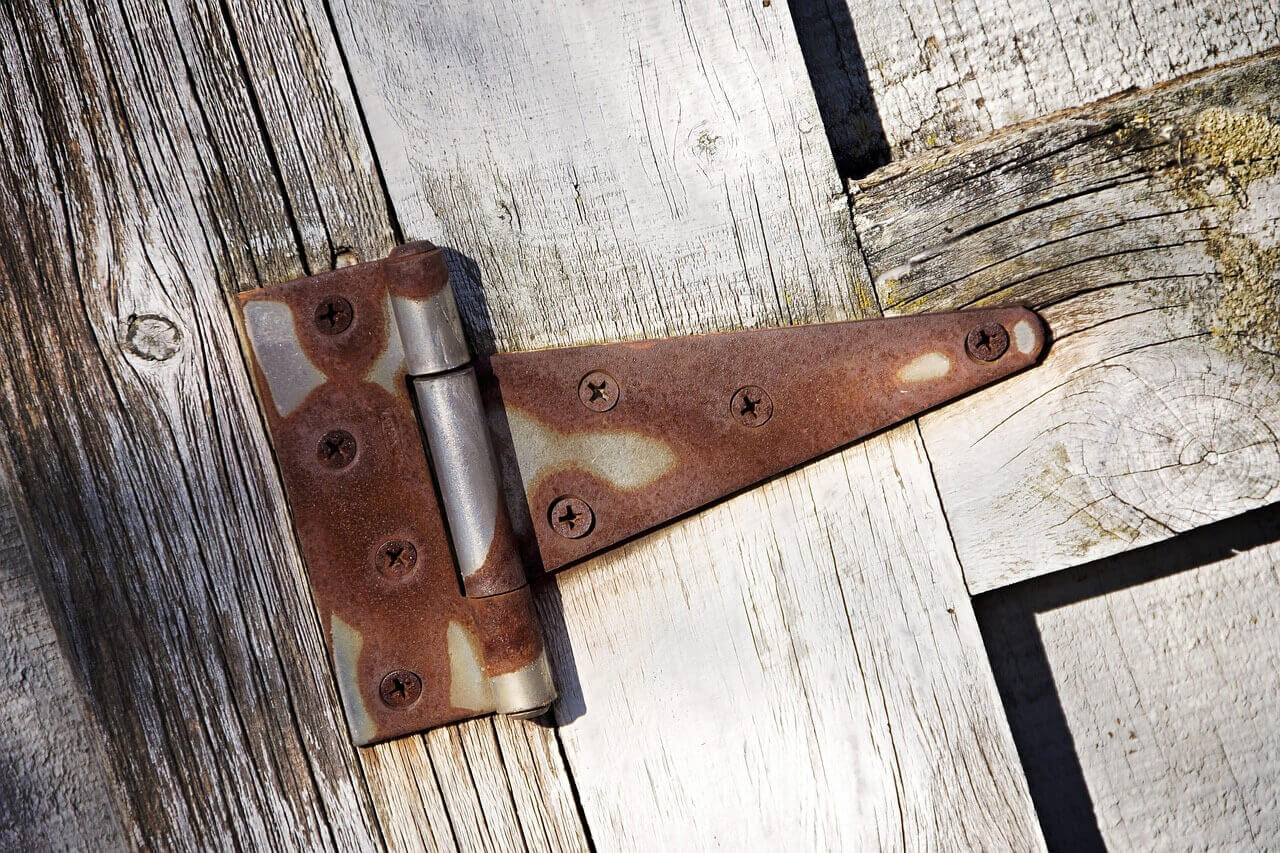
Rust can accumulate on T hinges, especially those exposed to outdoor environments, leading to both aesthetic damage and functional problems.
How to Fix:
Remove Surface Rust: Start by using a wire brush or steel wool to scrub off any loose rust from the surface of the hinge. Apply steady pressure and move the brush back and forth to remove as much rust as possible. Focus on the rusted areas while being careful not to damage the metal underneath.
Apply a Rust Remover: After scrubbing the loose rust, apply a rust remover or a mixture of vinegar and baking soda for a DIY alternative. Use a clean cloth or brush to apply the rust remover, letting it sit for 10-15 minutes to break down any remaining rust.
Wipe and Rinse: Once the rust remover has had time to work, wipe the hinge with a damp cloth to remove the solution and any remaining rust particles. Be sure to dry the hinge completely afterward to avoid further rust development.
Use a Rust Converter (Optional): For severe rust, you may want to apply a rust converter. This chemical treatment reacts with the rust, turning it into a stable compound that can be painted over, preventing further corrosion.
Apply Protective Coating: To prevent future rusting, coat the hinge with a rust-resistant spray paint or metal sealant. Make sure the hinge is clean and dry before applying the protective coating. This step is crucial if the hinge is exposed to outdoor elements.
4. Loose Hinge Screws
Loose screws in T hinges can cause the door to shift, sag, or even stop functioning properly. Over time, the screws holding the hinge can loosen due to regular use or wood expansion and contraction.
How to Fix:
Tighten the Screws: Start by using a screwdriver or a power drill to tighten the loose screws. Turn them clockwise until they are snug against the hinge plate. Be careful not to overtighten, as this can strip the screw holes and cause further damage.
Check for Stripped Holes: If the screws keep turning without tightening or feel loose after being tightened, the screw holes may be stripped. In this case, the screws are no longer gripping the wood properly.
Reinforce the Screw Holes: To fix stripped holes, remove the loose screws and insert toothpicks or wooden matchsticks coated in wood glue into the holes. Break the toothpicks or matchsticks flush with the surface of the hinge. Once the glue is dry (after about 30 minutes), reinsert the screws into the newly reinforced hole. The wooden fillers give the screws a tighter grip.
Replace Worn Screws: If the screws are worn or too short to hold the hinge securely, replace them with longer, thicker screws. This will provide a stronger grip in the wood and prevent future loosening.
5. Hinges Binding or Becoming Stiff
T hinges can become stiff or bind, making it difficult to open or close the door smoothly. This usually occurs due to a build-up of debris or improper installation.
How to Fix:
Inspect the Hinges: Begin by opening and closing the door to pinpoint the issue. Check the hinges closely to identify whether dirt, debris, or misalignment is causing the binding. Look for visible gaps or parts rubbing against the door frame.
Clean the Hinges: Dirt and debris can accumulate within the hinge joints, causing them to stiffen. Use a soft brush or an old toothbrush to clean the hinges thoroughly. For stuck-on grime, wipe the hinge with a damp cloth and dry it completely before moving on to the next step.
Loosen the Screws Slightly: Sometimes, hinges can become stiff because they were installed too tightly. Use a screwdriver to slightly loosen the screws on the affected hinge. This minor adjustment often relieves excess pressure on the hinge, allowing smoother movement. Avoid loosening too much—just enough to reduce stiffness.
Apply Lubrication: After cleaning and loosening the hinges, apply a lubricant such as WD-40 or silicone spray directly onto the hinge pin and moving parts. Open and close the door several times to distribute the lubricant evenly and restore smooth movement.
Realign the Door (if necessary): If the door is slightly misaligned, this can cause binding. Use a level to check the alignment. If needed, adjust the hinge placement to ensure the door sits flush with the frame.
6. Hinge Pin Coming Loose
A loose hinge pin can cause the door to wobble or fall off its track, which can be dangerous.
How to Fix:
Remove the Loose Hinge Pin: Start by closing the door to relieve pressure on the hinge. Using a hammer and a small screwdriver or punch, gently tap the bottom of the hinge pin upward to remove it. Be careful not to damage the hinge or door during this process. If the pin is difficult to remove, apply some lubricant (like WD-40) to loosen it.
Inspect the Pin for Damage: Once the pin is out, inspect it for signs of wear, bending, or damage. A bent or worn pin can cause it to fit loosely in the hinge. If the pin is damaged, replace it with a new pin of the same size.
Secure the Hinge Pin: If the pin is not damaged but still comes loose, you can increase its grip by slightly bending it. Place the pin on a flat surface and gently tap it in the center with a hammer to create a slight bend. This bend will make the pin fit more snugly in the hinge when reinserted.
Reinsert the Pin: Once you have adjusted or replaced the pin, carefully tap it back into the hinge using a hammer. Ensure that the pin is securely in place and flush with the top of the hinge.
Test the Door: Open and close the door several times to ensure the pin is holding properly and that the door operates smoothly without wobbling.
7. Door Not Closing Fully
Sometimes, T hinges can cause doors to not close fully, either leaving gaps or getting stuck before shutting completely.
How to Fix:
Examine the Door and Frame: Start by inspecting the door and frame to determine the cause. Check if the hinges are misaligned or if the door is hitting the frame before fully closing. Pay attention to any gaps that may indicate the door isn’t sitting properly.
Adjust the Hinges: If the hinges are out of alignment, slightly loosen the screws on the problematic hinge using a screwdriver. Carefully adjust the position of the door to ensure it sits flush with the frame. Once aligned, re-tighten the screws without over-tightening, as this can cause further misalignment.
Sanding the Frame (If Needed): If the door is scraping against the frame or there are minor obstructions, you can sand down the area that’s preventing smooth closure. Use fine-grit sandpaper and work slowly, testing the door’s closure as you go to avoid over-sanding.
Install a Door Closer (Optional): If the issue persists or the door frequently doesn’t close fully, consider installing a door closer. This will help ensure that the door shuts properly and securely every time.
8. Hinge Plates Warping Over Time
Over time, hinge plates can warp due to excessive weight, weather conditions, or general wear and tear, resulting in a poorly functioning door.
How to Fix:
Remove the Hinge: Start by unscrewing the warped hinge from both the door and the frame. Use a screwdriver to carefully remove each screw without damaging the wood.
Flatten the Hinge: Place the warped hinge on a sturdy, flat surface like a workbench or concrete floor. Using a hammer, gently tap the warped areas to straighten the plate. Focus on the most prominent bends, applying consistent pressure until the hinge lies flat. Avoid excessive force to prevent further damage.
Check Alignment: After flattening the hinge, inspect it to ensure it is completely straight. You can place a ruler or level across the hinge to check for any remaining warps.
Replace the Hinge if Severely Warped: If the hinge is too warped to repair or shows signs of metal fatigue, it’s best to replace it with a new hinge. Make sure to select a replacement hinge of the same size and material for compatibility.
Reinstall the Hinge: Once the hinge is straight or replaced, reattach it to the door and frame. Ensure all screws are tightly secured, and check that the door opens and closes smoothly.
Conclusion
T hinges are durable and functional, but they can still encounter common issues due to wear and tear, weather exposure, or installation errors. By following these professional repair steps, you can effectively resolve problems such as misalignment, rust, squeaking, and more. Proper maintenance and timely repairs will ensure your T hinges continue to provide reliable performance for years to come.
Remember to periodically check your T hinges and carry out preventive maintenance to avoid more significant issues down the line.