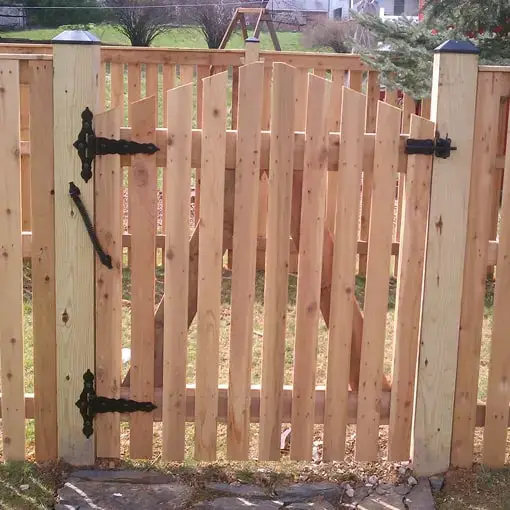
T-hinges are the workhorses of gate operation, but like any hardworking component, they can encounter troubles. Don’t worry; we’ve got you covered! In this article, we’ll delve into the nitty-gritty of common T-hinge problems and provide step-by-step solutions to restore your gate’s functionality.

Problem 1: Squeaky Hinges
Is your gate emitting a loud, unwelcome symphony of squeaks? Fear not; this is a common annoyance. The remedy is quite simple:
Step 1: Procure a can of spray lubricant.
Step 2 : Gently spray the lubricant on the hinge points.
Step 3 : Open and close the gate a few times to distribute the lubricant evenly.
Result: Bid farewell to those irksome squeaks.
Problem 2: Gate Misalignment
If your gate isn’t shutting evenly or appears crooked, hinge plate placement might be the culprit. Here’s how to rectify the situation:
Step 1: Examine the hinge positions on both the gate and the post.
Step 2: Loosen the screws on the hinge plates slightly.
Step 3: Gently adjust the hinge plates until the gate hangs straight.
Step 4: Tighten the screws back securely.
Result: Your gate should now swing smoothly, aligned and even.
Problem 3: Sagging Gate
Is your gate succumbing to gravity’s pull and sagging downwards? Over time, this can occur due to weight and weather. You can tackle this concern:
Step 1: Invest in a gate tension kit or gate repair kit.
Step 2: Attach the provided cable diagonally from the top hinge to the bottom corner of the latch side.
Result: The added support will lift and level your gate, restoring its original position.
Problem 4: Rusty T Hinges
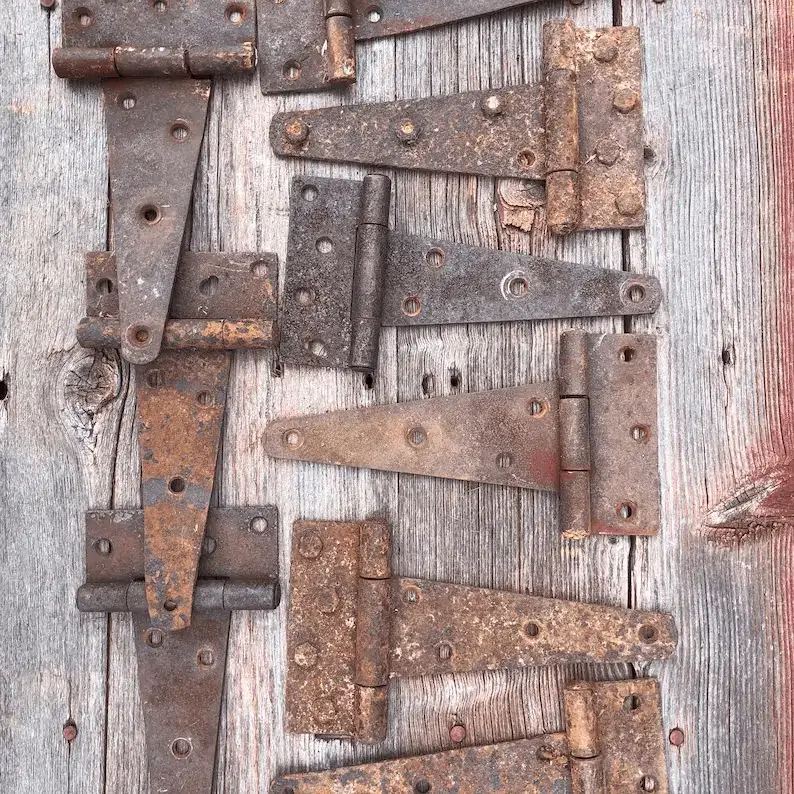
Rust can be a gate hinge‘s worst enemy, especially in damp conditions. But fret not; rust doesn’t stand a chance with these steps:
Step 1: Remove the rusty hardware carefully.
Step 2: Submerge the hardware in white vinegar for several hours to eliminate rust.
Step 3: Gently scrub the hardware with a wire brush to remove remaining rust.
Step 4: Dry the hardware completely.
Step 5: Apply a rust-resistant primer and paint to protect against future rusting.
Result: Your hinges will not only look better but also resist rusting.
Problem 5: Hinge Screws Loosening
If your hinge screws seem to have a knack for coming loose, leading to a wobbly gate, this fix is a breeze:
Step 1: Grab some wooden toothpicks and wood glue.
Step 2: Dip the toothpicks in the glue and insert them into the screw holes.
Step 3: Break off the toothpicks flush with the surface.
Step 4: Reattach the hinges with screws.
Result: The toothpicks create a more secure grip for the screws, solving the wobbling issue.
Problem 6: Hinge Pin Removal
Removing stubborn hinge pins can be a puzzle, but this technique can save the day:
Step 1: Position a nail at the bottom of the hinge pin.
Step 2: Gently tap the nail with a hammer.
Step 3: The nail’s pressure will push the pin upwards.
Step 4: Use pliers to grasp and remove the pin.
Result: You’ll triumph over the stubborn pin and can now detach the gate.
Problem 7: Weather-related Swelling
Wooden gates may swell due to weather changes, leading to hinge misalignment. A simple sanding solution awaits:
Step 1: Identify areas where the gate is sticking due to swelling.
Step 2: Gently sand down the affected parts until the gate moves smoothly.
Step 3: Repaint or reseal the sanded areas to safeguard the wood.
Result: Your gate will swing seamlessly without hindrance.
Problem 8: Hinge Binding
When your gate refuses to swing freely, hinge binding might be at play due to debris or paint buildup. Here’s your liberation:
Step 1: Remove the hinge pins.
Step 2: Clean out debris from the hinge knuckles.
Step 3: Lubricate the hinge knuckles with a suitable lubricant.
Step 4: Reinsert the hinge pins.
Result: Your gate will regain its smooth swinging action.
Problem 9: Inadequate Gate Clearance
If your gate drags or encounters obstacles due to insufficient clearance, an adjustment is in order:
Step 1: Loosen the bottom hinge screws slightly.
Step 2: Place a spacer beneath the hinge to raise the gate.
Step 3: Tighten the screws securely.
Result: Your gate will now clear obstacles and swing freely.
Problem 10: Hinge Rust Prevention
To shield your hinges from future rusting, a protective measure is at your disposal:
Step 1: Get a rust-resistant spray or clear nail polish.
Step 2: Remove hinge plates and screws, clean with mild detergent and brush, then let them dry.
Step 3: Use rust-resistant spray or brush on clear nail polish evenly on all surfaces.
Step 4: Apply a second coat after the first is dry for added defense.
Step 5: Once fully dry, reattach hinge plates and screws securely to the gate.
Step 6: Periodically inspect for rust or wear, reapply protection as needed.
Result: This barrier guards against moisture and rust formation, extending hinge lifespan.
In Conclusion
Your T-hinges might encounter hurdles, but addressing them is easier than you think. From annoying squeaks to rust battles, these step-by-step solutions will ensure your gate remains functional and hassle-free. A little attention and care can keep your gate swinging smoothly for the long haul.