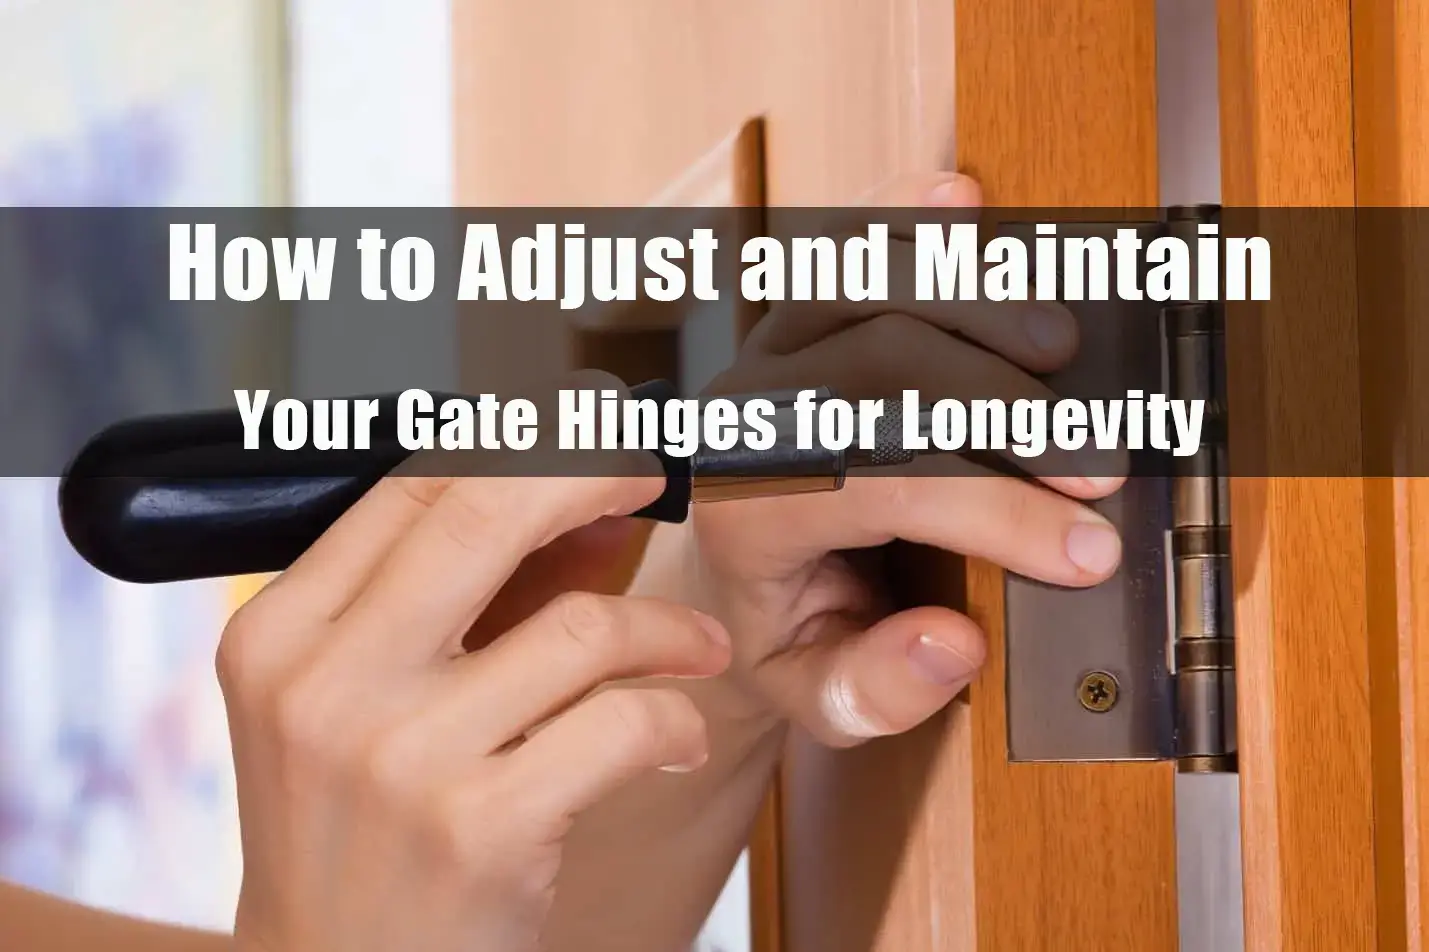
Gate hinges are an integral part of any gate, ensuring its functionality and longevity. Over time, hinges can become misaligned, rusted, or worn out, leading to issues such as sagging, difficulty in opening or closing, and even complete failure. Regular maintenance and adjustments are essential to ensure smooth operation and extend the lifespan of your gate. In this blog post, we will guide you through the steps to adjust and maintain your gate hinges, helping you avoid costly repairs and replacements in the future.
9 Essential Steps for Optimizing Your Gate Hinge
Unlock the secrets to hassle-free gate operation with our comprehensive guide on optimizing gate hinge adjustment and maintenance. Discover the nine essential steps that will empower you to ensure smooth and lasting performance for your gate hinges. From routine inspections to proper lubrication, our expert advice will help you keep your gate hinges in top-notch condition, enhancing both functionality and longevity. Say goodbye to squeaky, misaligned gates.

Step 1: Assessing the Condition of Your Gate Hinges
Before diving into adjustments and maintenance, it is important to assess the current condition of your gate hinges. Look for signs of rust, corrosion, loose screws, or any visible damage. Check if the gate is sagging or if it is difficult to open and close. Identifying these issues will help you determine the necessary adjustments and maintenance tasks required.
Step 2: Gather the Necessary Tools
Before you begin, gather essential tools that will facilitate the task. Equip yourself with a screwdriver, a level, an adjustable wrench, and a supply of lubricating oil.
Step 3: Adjusting Gate Hinges for Alignment
Misaligned gate hinges can lead to various issues, including difficulty in opening or closing, uneven gaps, and stress on the hinges. Here’s how you can adjust your gate hinges for proper alignment:
1. Loosen the screws on the hinge plates attached to the gate and the post.
2. Gently lift or lower the gate to align it with the desired position.
3. Use a level to ensure the gate is straight and adjust as necessary.
4. Tighten the screws on the hinge plates securely, but avoid over-tightening.
5. Test the gate’s movement to ensure it opens and closes smoothly.
Step 4: Rectify Loose Screws
Loose screws are potential culprits for gate sagging and misalignment over time. Conduct a meticulous survey of all screws securing hinges and gate frames. Identify any loose screws and employ a screwdriver or wrench to tighten them. This seemingly minor action can significantly enhance the gate’s overall stability.
Step 5: Fixing Sagging Gates
Sagging gates are a common problem caused by worn-out hinges or excessive weight. To fix a sagging gate, follow these steps:
1. Prop up the gate using a sturdy object, such as a block of wood or a jack.
2. Loosen the screws on the hinge plates attached to the gate and the post.
3. Lift the gate slightly to relieve the pressure on the hinges.
4. Replace worn-out hinges with new ones if necessary.
5. Realign the gate using a level and adjust the hinges accordingly.
6. Tighten the screws securely to hold the gate in place.
7. Remove the prop and test the gate’s movement to ensure it no longer sags.
Step 6: Lubricating Your Gate Hinges

Proper lubrication is crucial for the smooth operation of gate hinges. Over time, dirt, dust, and moisture can accumulate, causing friction and wear. Follow these steps to lubricate your gate hinges effectively:
1. Clean the hinges using a brush or cloth to remove any debris or rust.
2. Apply a lubricant such as silicone spray or white lithium grease to the hinge pins and moving parts.
3. Move the gate back and forth to distribute the lubricant evenly.
4. Wipe off any excess lubricant to prevent attracting dirt and debris.
Step 7: Adjust Hinge Tension
To ensure your gate opens and closes smoothly, you need to adjust the hinge tension. Most hinges have an adjustment screw that controls how tightly the hinge is clamped. Use your wrench to turn the adjustment screw clockwise to increase tension or counterclockwise to decrease tension. This will help you find the right balance for smooth operation.
Step 8: Check Gate Clearance
Check the clearance between your gate and the ground. Ideally, there should be a small gap to prevent friction and scraping. If your gate is scraping against the ground, adjust the hinges to lift it slightly. If there’s too much of a gap, lower the gate accordingly.
Step 9: Test the Gate
After making adjustments, give your gate a few test swings to ensure it opens and closes smoothly without any binding or scraping. Pay attention to any unusual sounds or resistance. If something doesn’t feel right, recheck your adjustments.
Maintenance Guidelines for Prolonged Longevity
1. Regular Visual Inspection
Dedicate a few moments each month to engaging in a proactive visual examination of your gate hinges. During this process, meticulously scrutinize the hinges for telltale signs of rust, wear, or misalignment. Should you stumble upon any such indicators, promptly take action to rectify these issues before they exacerbate.
2. Thoughtful Lubrication Routine
Every six months, seize the opportunity to administer a judicious application of lubricating oil to the hinges. This simple act ensures the sustained fluidity of hinge motion, serving as a protective barrier against the premature onset of aging and rust-related deterioration.

3. The Guardian of Wooden Gates
Should your gate be hewn from the warmth of wood, consider bestowing upon it a safeguarding layer of paint or sealant. This proactive measure acts as a resilient shield, thwarting the deleterious effects of moisture and the erosive forces of weather, thus promoting your gate’s endurance.
4. Relentless Debris Eradication
Incorporate the habit of consistently clearing the hinge area from debris, including leaves, dirt, and other obstructive particles. This vigilance is pivotal in safeguarding unhindered hinge performance, as well as averting potential damage that debris accumulation might entail.
5. Prompt and Attentive Issue Resolution
The ethos of timeliness should underscore your approach to addressing any detected issues with your gate hinges. Confronting minor setbacks during their nascency effectively curtails their progression into more intricate complications, ultimately sparing you from costly and extensive repairs.
Embark on this comprehensive maintenance journey armed with these proven strategies, and witness firsthand the remarkable extension of your gate hinges’ longevity. By adhering to these guidelines, you not only cultivate smooth gate functionality but also foster an environment of security and convenience that will stand the test of time.
Conclusion
Mastering the art of adjusting and maintaining gate hinges does not necessitate specialized expertise or elaborate tools. By diligently adhering to these straightforward steps and instituting a habit of regular gate inspection, you can ensure that your gate operates optimally and perseveres as a testament to security and convenience. A meticulously preserved gate not only contributes to your property’s aesthetic appeal but also bolsters its security for years to come.