Installing gate hinges might feel like a complex task, especially considering the various types of hinges available. But don’t worry – we’re here to break it down for you! In this step-by-step guide, we’ll walk you through the installation methods for different types of gate hinges in a friendly and straightforward manner.
Know Your Gate Hinges
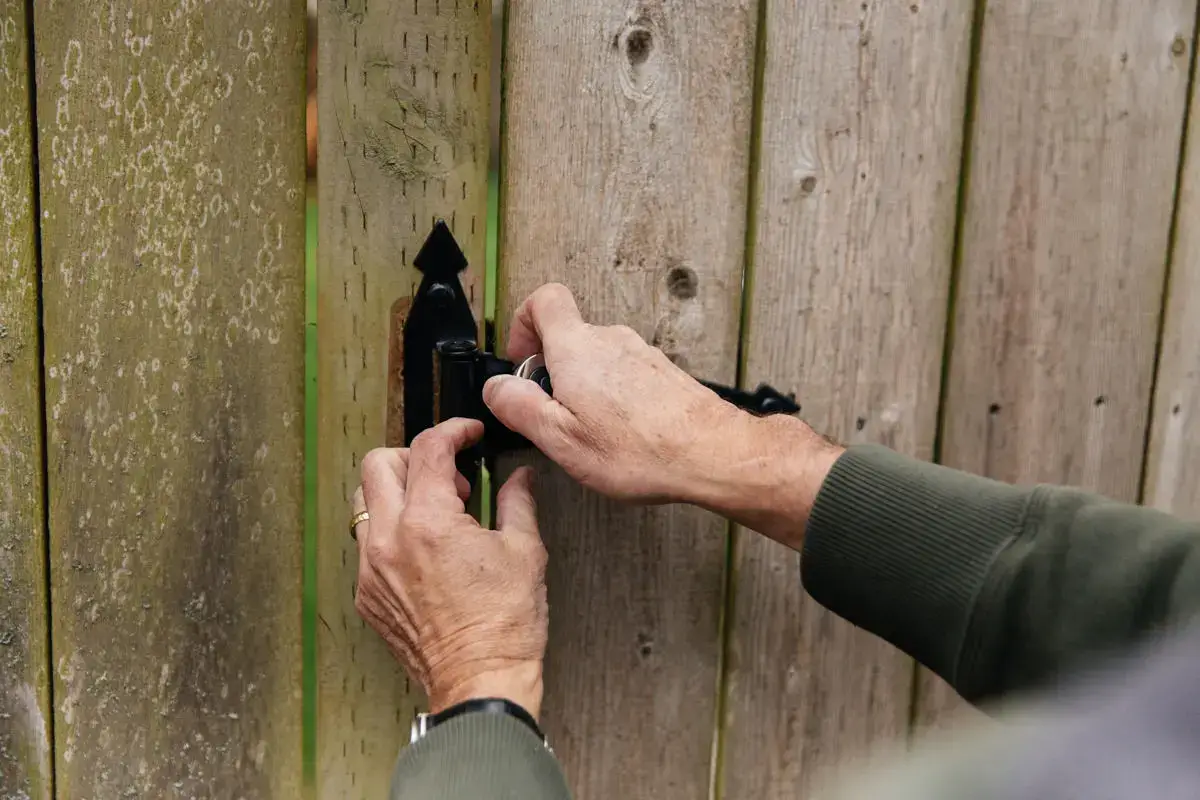
Before you start, identify the type of gate hinges you have. There are three common types: strap hinges, butt hinges, and self-closing hinges. Each type has its installation method.
- Butt Hinges with Dummy Straps
- Bullet Hinges Weld-On
- Heavy Duty Gate Closers
- Heavy Duty Weld-On/Bolt-On Hinges
- Polymer Spring Hinges
- Commercial Grade Spring Hinges
- Double Action Spring Hinges
- Strap Hinges
- Tee Hinges
Install Gate Hinges: Step by Step
Gate hinges are the unsung heroes of every gate, providing the pivotal point for functionality and security. With a variety of hinge types designed for specific gate styles and purposes, mastering the art of installing different gate hinges is crucial.
1. Butt Hinges with Dummy Straps
Step 1: Gather Your Tools
Before starting, ensure you have a screwdriver, chisel, hammer, screws, dummy straps, hinges, and gate hardware.
Step 2: Mark and Chisel Mortises
Start by marking the placement of the butt hinges and dummy straps on the gate door and the adjacent post. Using a chisel and hammer, carefully create mortises (recesses) where the hinges and dummy straps will rest. These mortises should be slightly deeper than the thickness of the hardware.
Step 3: Attach the Hinges and Dummy Straps
Position the butt hinges in their respective mortises on the gate door and post. Make sure they align perfectly with each other. With the hinges in place, secure them using appropriate screws. Similarly, attach the dummy straps to enhance the decorative appearance of the hinges.
2. Bullet Hinges Weld-On
Step 1: Gather Your Tools
Ensure you have a welding machine, clamps, hinges, screws, and appropriate safety gear.
Step 2: Mark and Clamp
Begin by marking the hinge placement on both the gate and the post. This mark ensures accurate alignment. Securely clamp the hinges in position, ready for welding.
Step 3: Weld the Hinges
Utilize the welding machine to create strong welds, connecting the hinges to the gate and post. Ensure your welding skills provide a secure bond that can withstand the gate’s weight and usage.
3. Heavy Duty Gate Closers
Step 1: Gather Your Tools
You’ll need a screwdriver, heavy-duty gate closer, mounting brackets, screws, and safety gear.
Step 2: Mount the Brackets
Attach the mounting brackets to the gate frame according to the manufacturer’s instructions. These brackets serve as anchors for the gate closer.
Step 3: Attach the Gate Closer
Position the gate closer onto the brackets and secure it using the provided screws. Adjust the tension to match your desired closing speed.
4. Heavy Duty Weld-On/Bolt-On Hinges
Step 1: Gather Your Tools
You’ll need a welding machine, bolts, nuts, screws, and safety gear.
Step 2: Position the Hinges
Carefully position the heavy-duty hinges on the gate and post. Depending on your preference and expertise, choose between welding the hinges directly onto the gate or using bolts and nuts for a bolt-on option.
Step 3: Weld or Bolt
If you’re welding, ensure proper penetration and a solid bond. If you’re using bolts, tighten them securely to withstand the gate’s weight and motion.
5. Polymer Spring Hinges
Step 1: Gather Your Tools
You’ll need a screwdriver, screws, hinge tension tool (often provided with the hinges), and safety gear.
Step 2: Attach the Hinges
Fix the polymer spring hinges onto the gate and post using screws. These hinges often have a built-in tension adjustment mechanism to control the gate’s swing force.
6. Commercial Grade Spring Hinges

Step 1: Gather Your Tools
You’ll need a screwdriver, screws, hinge tension tool (provided with the spring hinges), and safety gear.
Step 2: Install the Hinges
Mount the commercial-grade spring hinges on the gate and post using screws. Utilize the hinge tension tool to fine-tune the gate’s closing force.
7. Double Action Spring Hinges

Step 1: Gather Your Tools
Ensure you have a screwdriver, screws, and safety gear.
Step 2: Attach the Hinges
Position the double action spring hinges on the gate and post. These hinges enable the gate to swing in both directions. Secure the hinges using the provided screws.
8. Strap Hinges

Step 1: Gather Your Tools
You’ll need a screwdriver, screws, and safety gear.
Step 2: Mark and Position
Start by marking the hinge placement on both the gate and post. For proper alignment, position the hinges on the gate first.
Step 3: Secure the Hinges on the Gate
Using screws, attach the hinges onto the gate, ensuring they align precisely with the marked positions. Close the gate to mark the hinge placement on the post.
Step 4: Secure the Hinges on the Post
Attach the hinges to the post, aligning them with the marked positions. Verify that the gate swings smoothly in both directions.
9. Tee Hinges

Step 1: Gather Your Tools
You’ll need a screwdriver, screws, and safety gear.
Step 2: Mark and Position
Start by marking the T hinge placement on both the gate and post. For proper alignment, place the hinges on the gate first.
Step 3: Attach the Hinges to the Gate
Secure the tee hinges onto the gate using screws. Ensure they align with the marked positions. Close the gate to mark the hinge placement on the post.
Step 4: Attach the Hinges to the Post
Screw the tee hinges onto the post, aligning them with the marked positions. Confirm that the gate opens and closes smoothly without any obstructions.
Common Steps After Completing the Above Steps
Step 1: Test the Gate
Open and close the gate a few times to make sure it swings smoothly. If it’s sticking or uneven, make any necessary adjustments to the hinges.
Step 2: Fine-tune if Needed
If the gate isn’t closing perfectly, use your screwdriver to slightly adjust the hinges. A small turn can make a big difference.
Step 3: Add a Latch
Depending on your gate’s purpose, you might want to add a latch for security. Position it on the gate and the adjacent fence or post. Make sure it’s at a comfortable height.
Step 4: Secure the Latch
Using your drill and screws, attach the latch according to the manufacturer’s instructions. Test it to ensure it’s secure and functional.
Step 5: Give It a Final Check
Walk away from your gate, then come back to it. Open and close it a few more times. Make sure it’s working smoothly and latching securely.

Conclusion
The installation of various gate hinges requires attention to detail, careful alignment, and proper hardware usage. By following these comprehensive step-by-step instructions tailored to each hinge type, you’ll be well-equipped to undertake any gate project with confidence. Whether your goal is improved security, enhanced functionality, or elevated aesthetics, the correct hinge installation is pivotal to achieving your desired outcome.